

What you’ll need for the install:
-
Allen Wrench (5/32”)
Getting started…
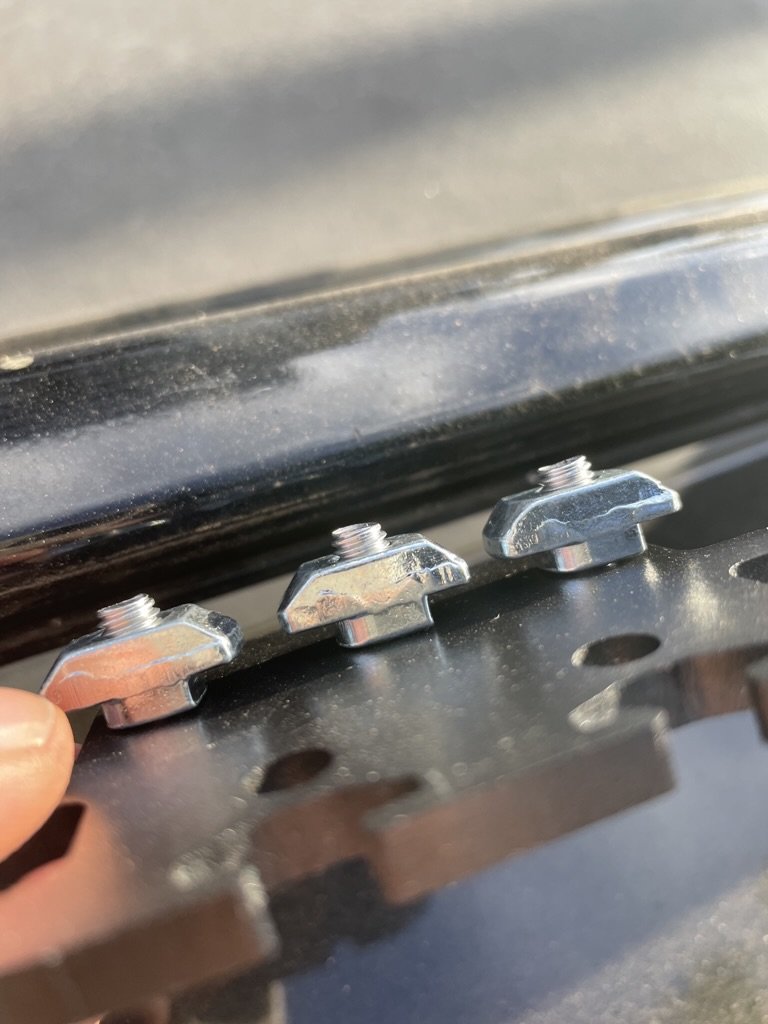
Your brackets should have arrived with the stainless steel hardware already installed (2 or 3 per bracket).
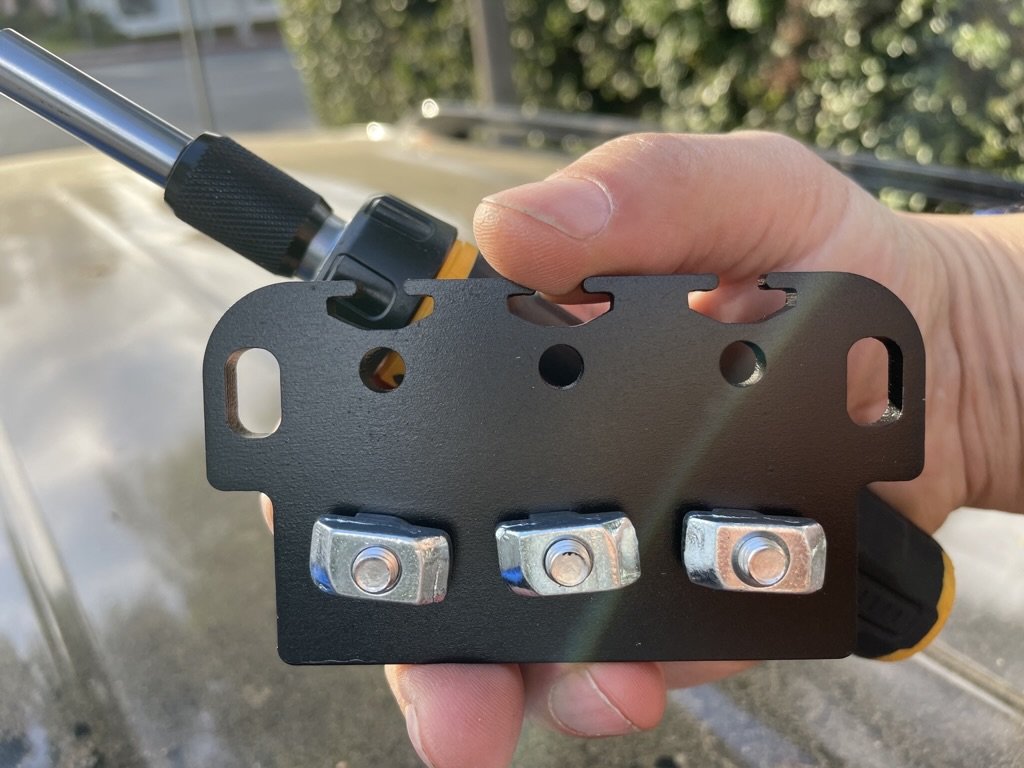
Installation is simple: align the hammer nuts horizontally across the bracket as displayed above. Tighten them to just-shy of hand-tight prior to installing. Next, measure the desired placement along your stock roof rails and mark the position on each side to ensure the brackets line up. (Masking tape works well for this.)
To install the bracket, insert the hammer nuts into the slot on the inside of the roof rail.
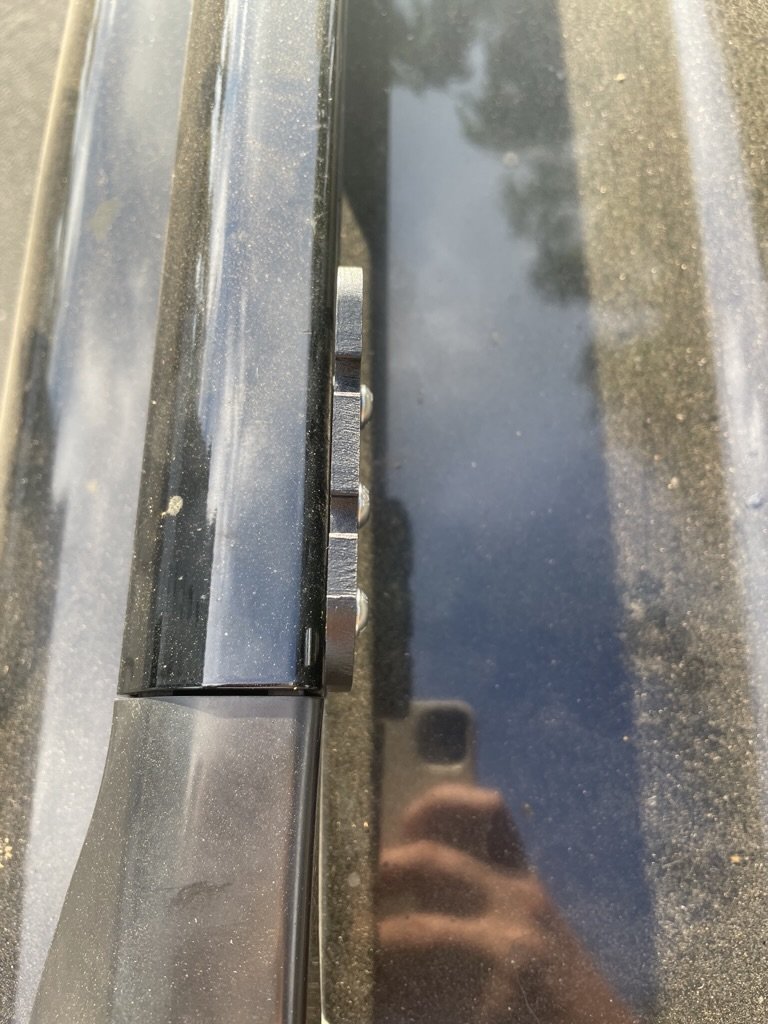
Tighten the bolts to secure in place. The bolts should need ~1 turn or less to tighten in place (assuming they were hand-tight when inserted). Do not over-tighten or you risk stripping the hammer nuts. You should be able to see the hammer nuts turning in the t-track.
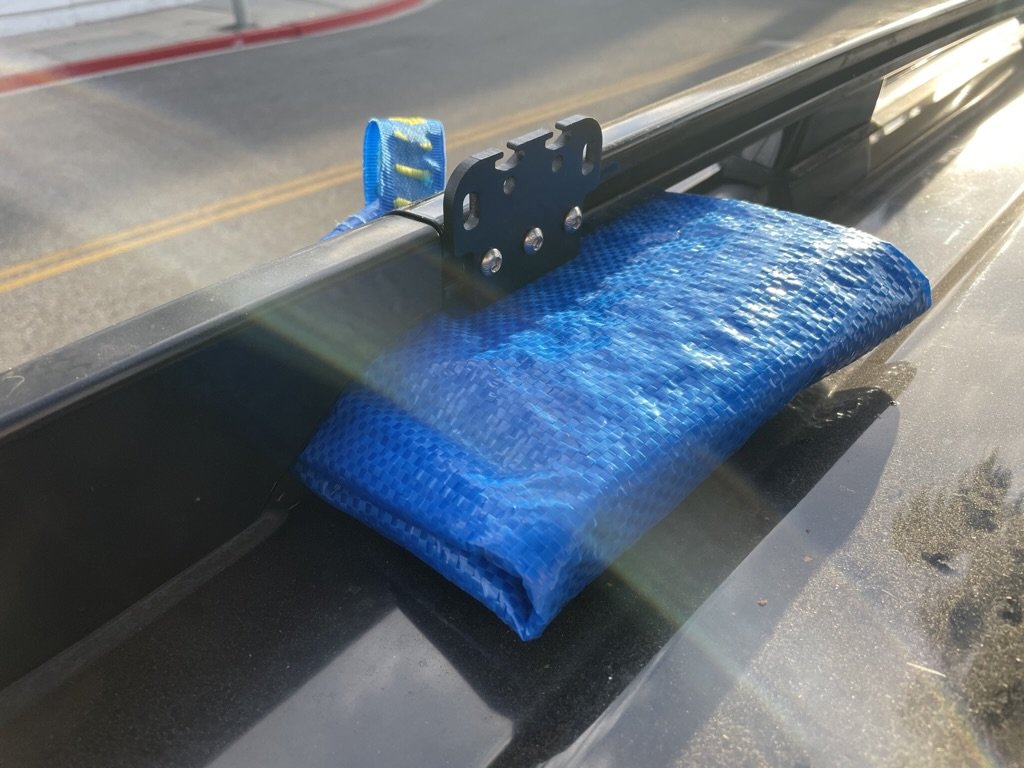
Once all 3 bolts are tightened down, wiggle the bracket to test the security. The bracket should sit firmly against the roof rail with no play. If there is play in the bracket, loosen the bolts slightly and retighten until the bracket is secure.
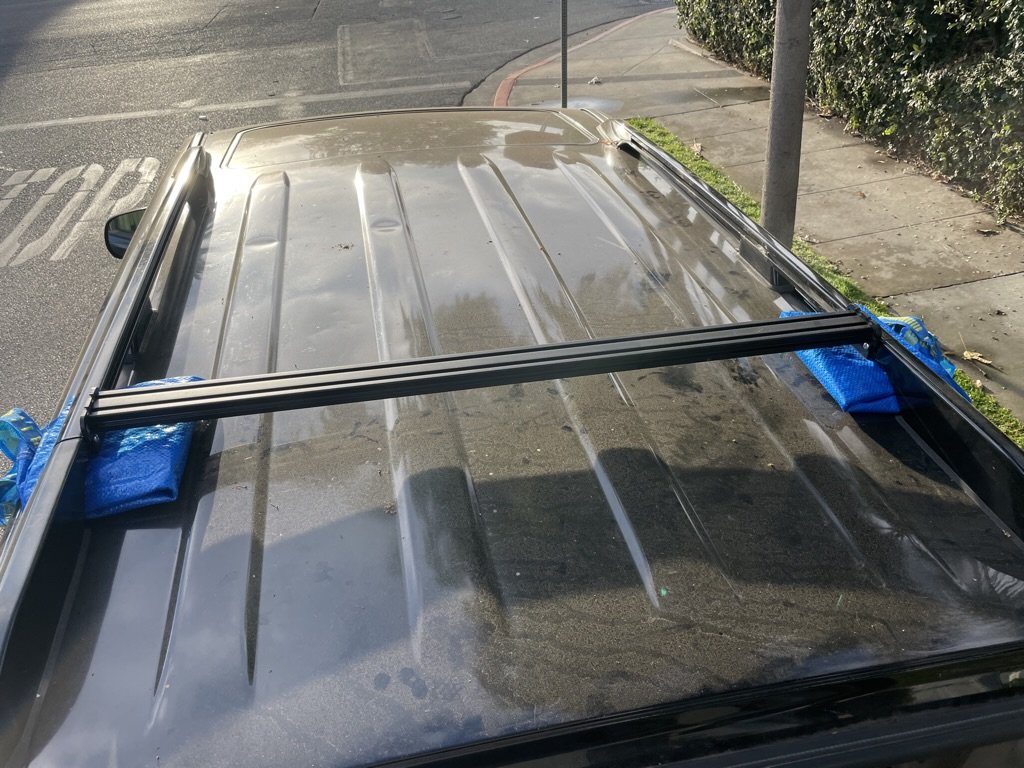
Once your brackets are installed, measure the distance between each pair of brackets to determine the necessary lengths for your crossbars.
NOTE: Measure each pair of brackets. We have found up to 1/16” in variation across the roofline on the same vehicle.
Once you’ve measured your crossbar lengths, head over to TNutz to order your extrusion bars:
-
To order your 3” crossbar: Click here to access our pre-filled cart (one rail with mounting bolts per cart).
-
To order your 2” crossbar: Click here to access our pre-filled cart (one rail with mounting bolts per cart).
Installing your crossbars…
Once your crossbars have arrived, measure each to determine which bracket pairs they match up to. Installing the crossbars is simple:
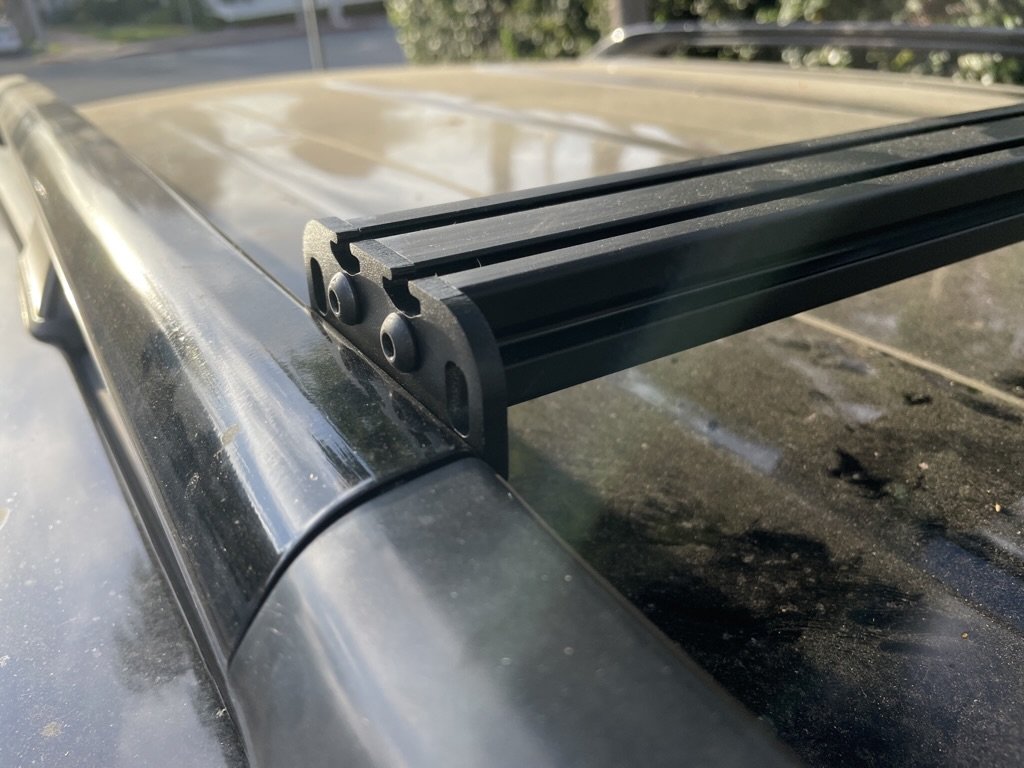
Lay the crossbar between the installed brackets and let it rest on the bolt heads that secure the bracket to the stock rails.
Starting at either end, align the extrusion crossbar to the notches in the roof rail bracket. Insert the bolts that you ordered along with your crossbars through the bracket and into the threaded hole at the end of the crossbar. Loosely thread each bolt until the crossbar is properly aligned, then tighten all of the bolts to secure the crossbar in place.
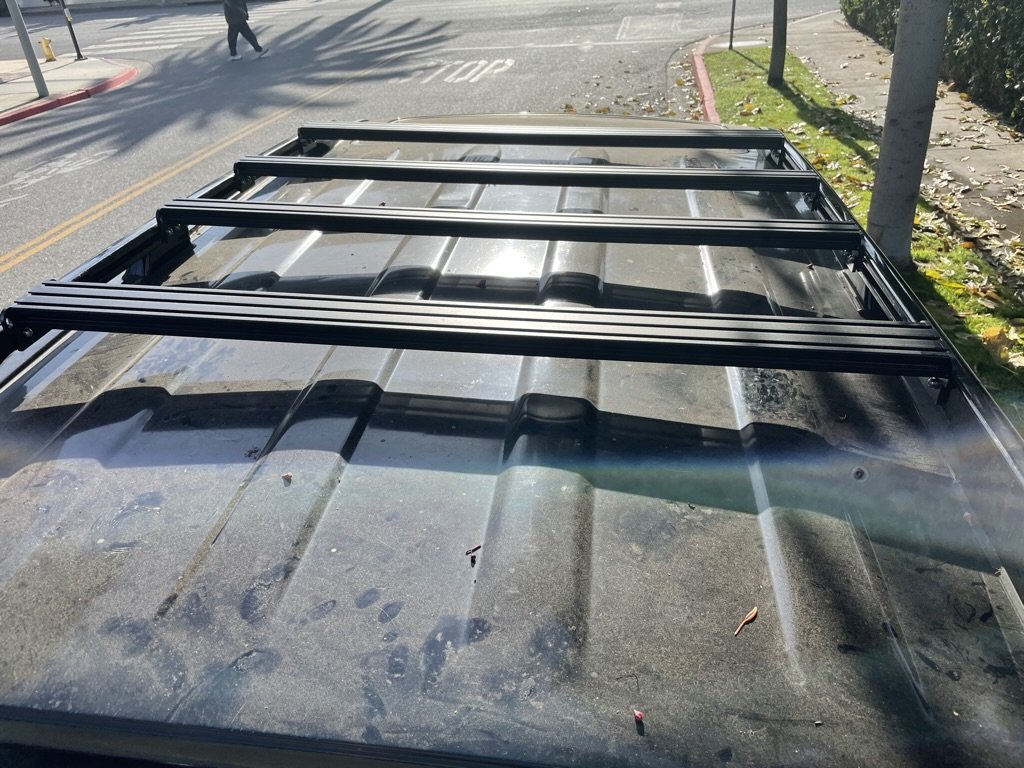
Repeat the process for each of your crossbars.
If you have any questions, please don’t hesitate to contact us.