

What you’ll need for the install:
-
Allen Wrench (5/32”)
Getting started…
Your brackets should have arrived with the stainless steel hardware already installed.
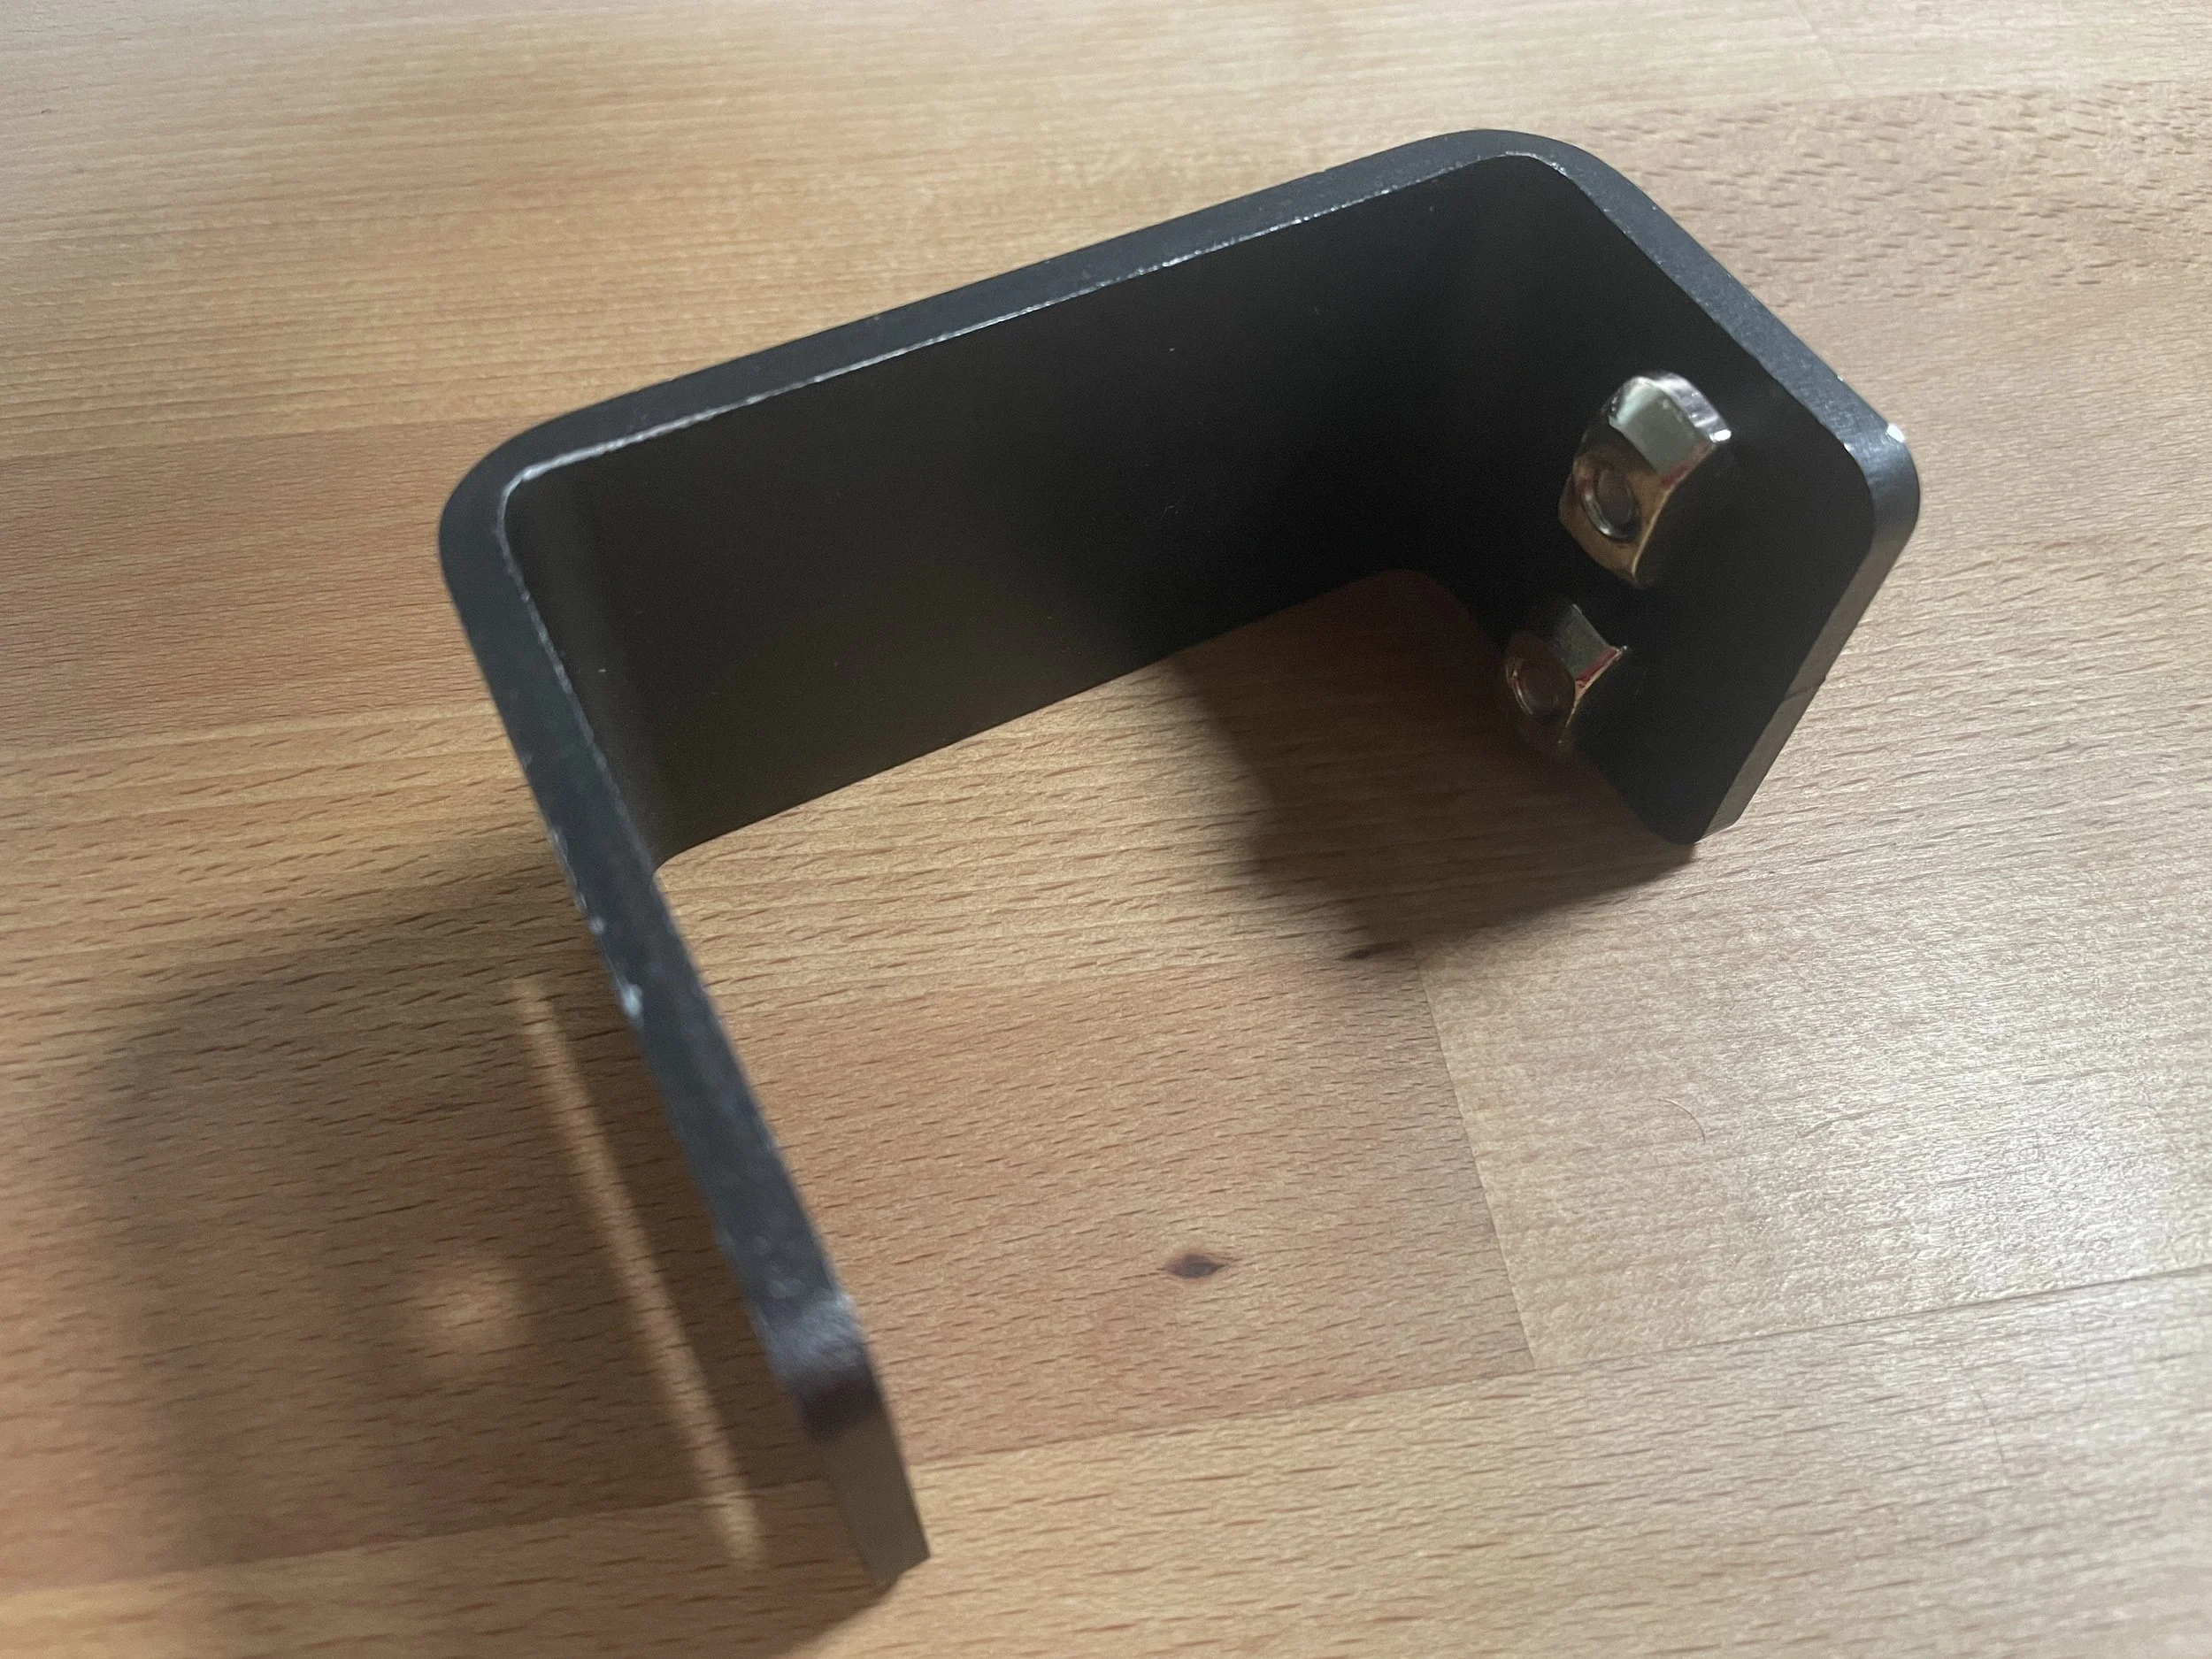
If your hardware arrived separately, it should be installed on the bracket like this:

Installation is simple: align the hammer nuts horizontally across the bracket as displayed above. Tighten them to hand-tight prior to installing. Next, measure the desired placement along your stock roof rails and mark the position on each side to ensure the brackets line up. (Masking tape works well for this.)
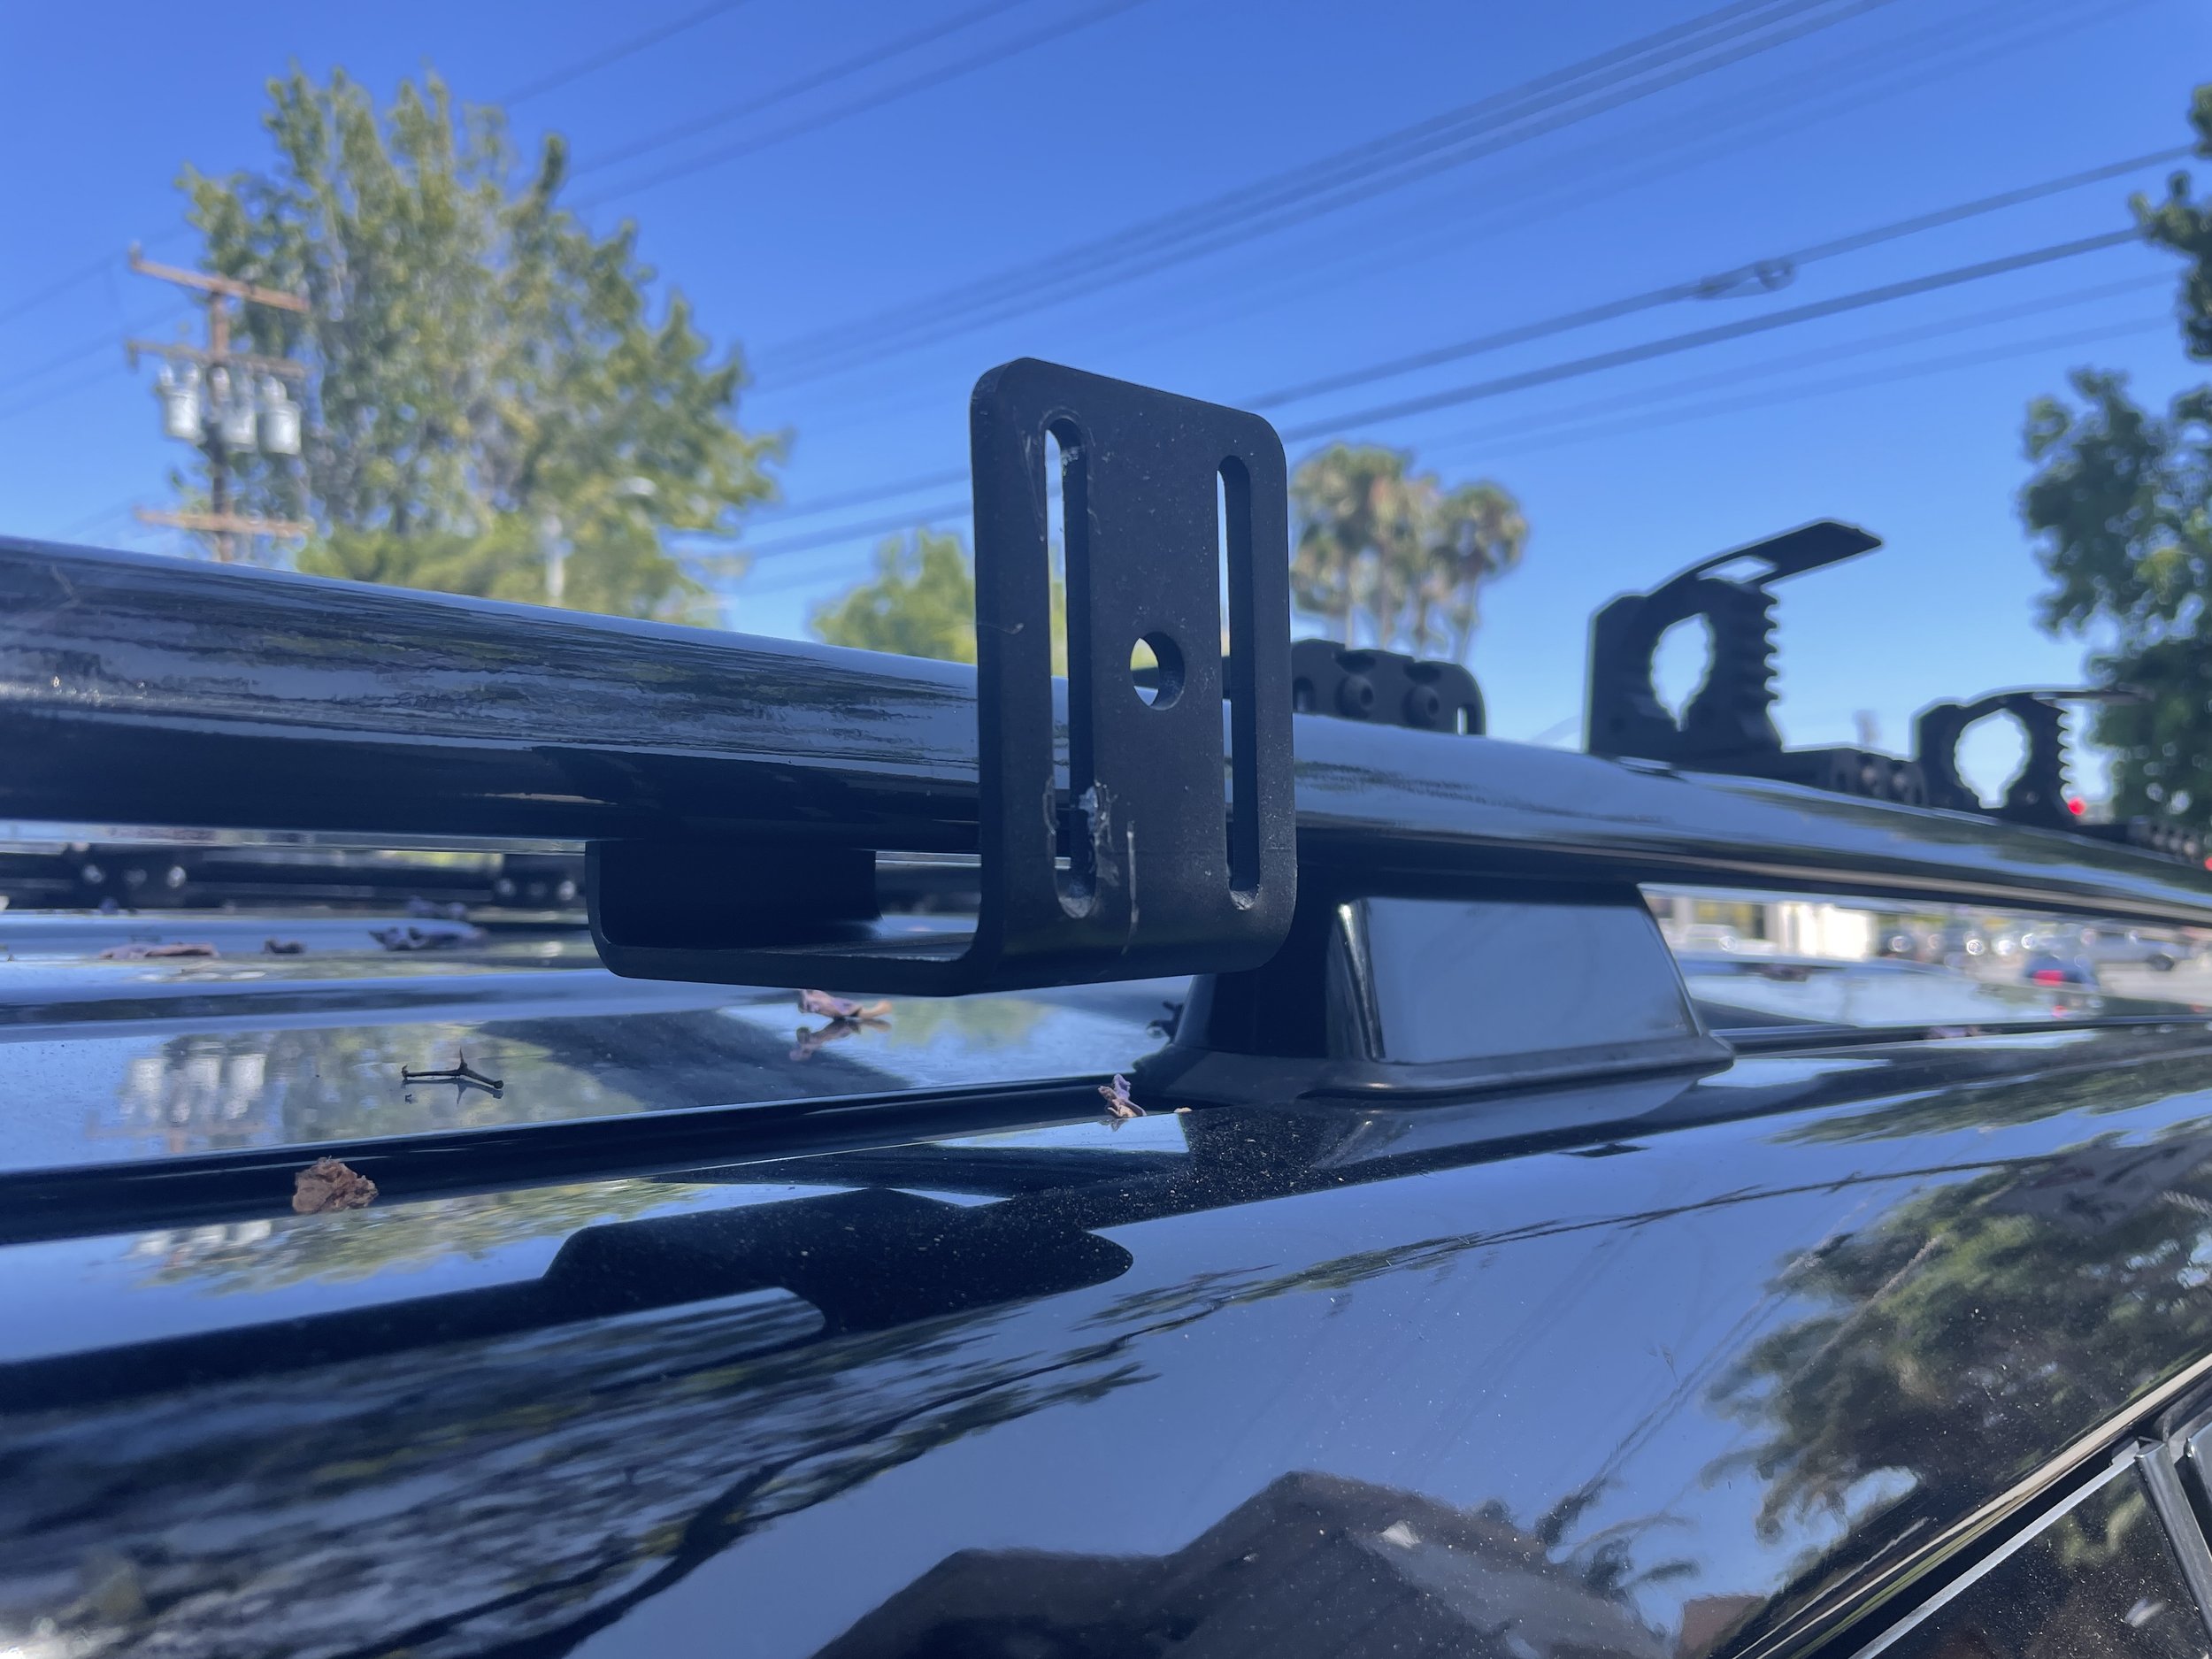
To install the bracket, insert the hammer nuts into the slot on the inside of the roof rail.
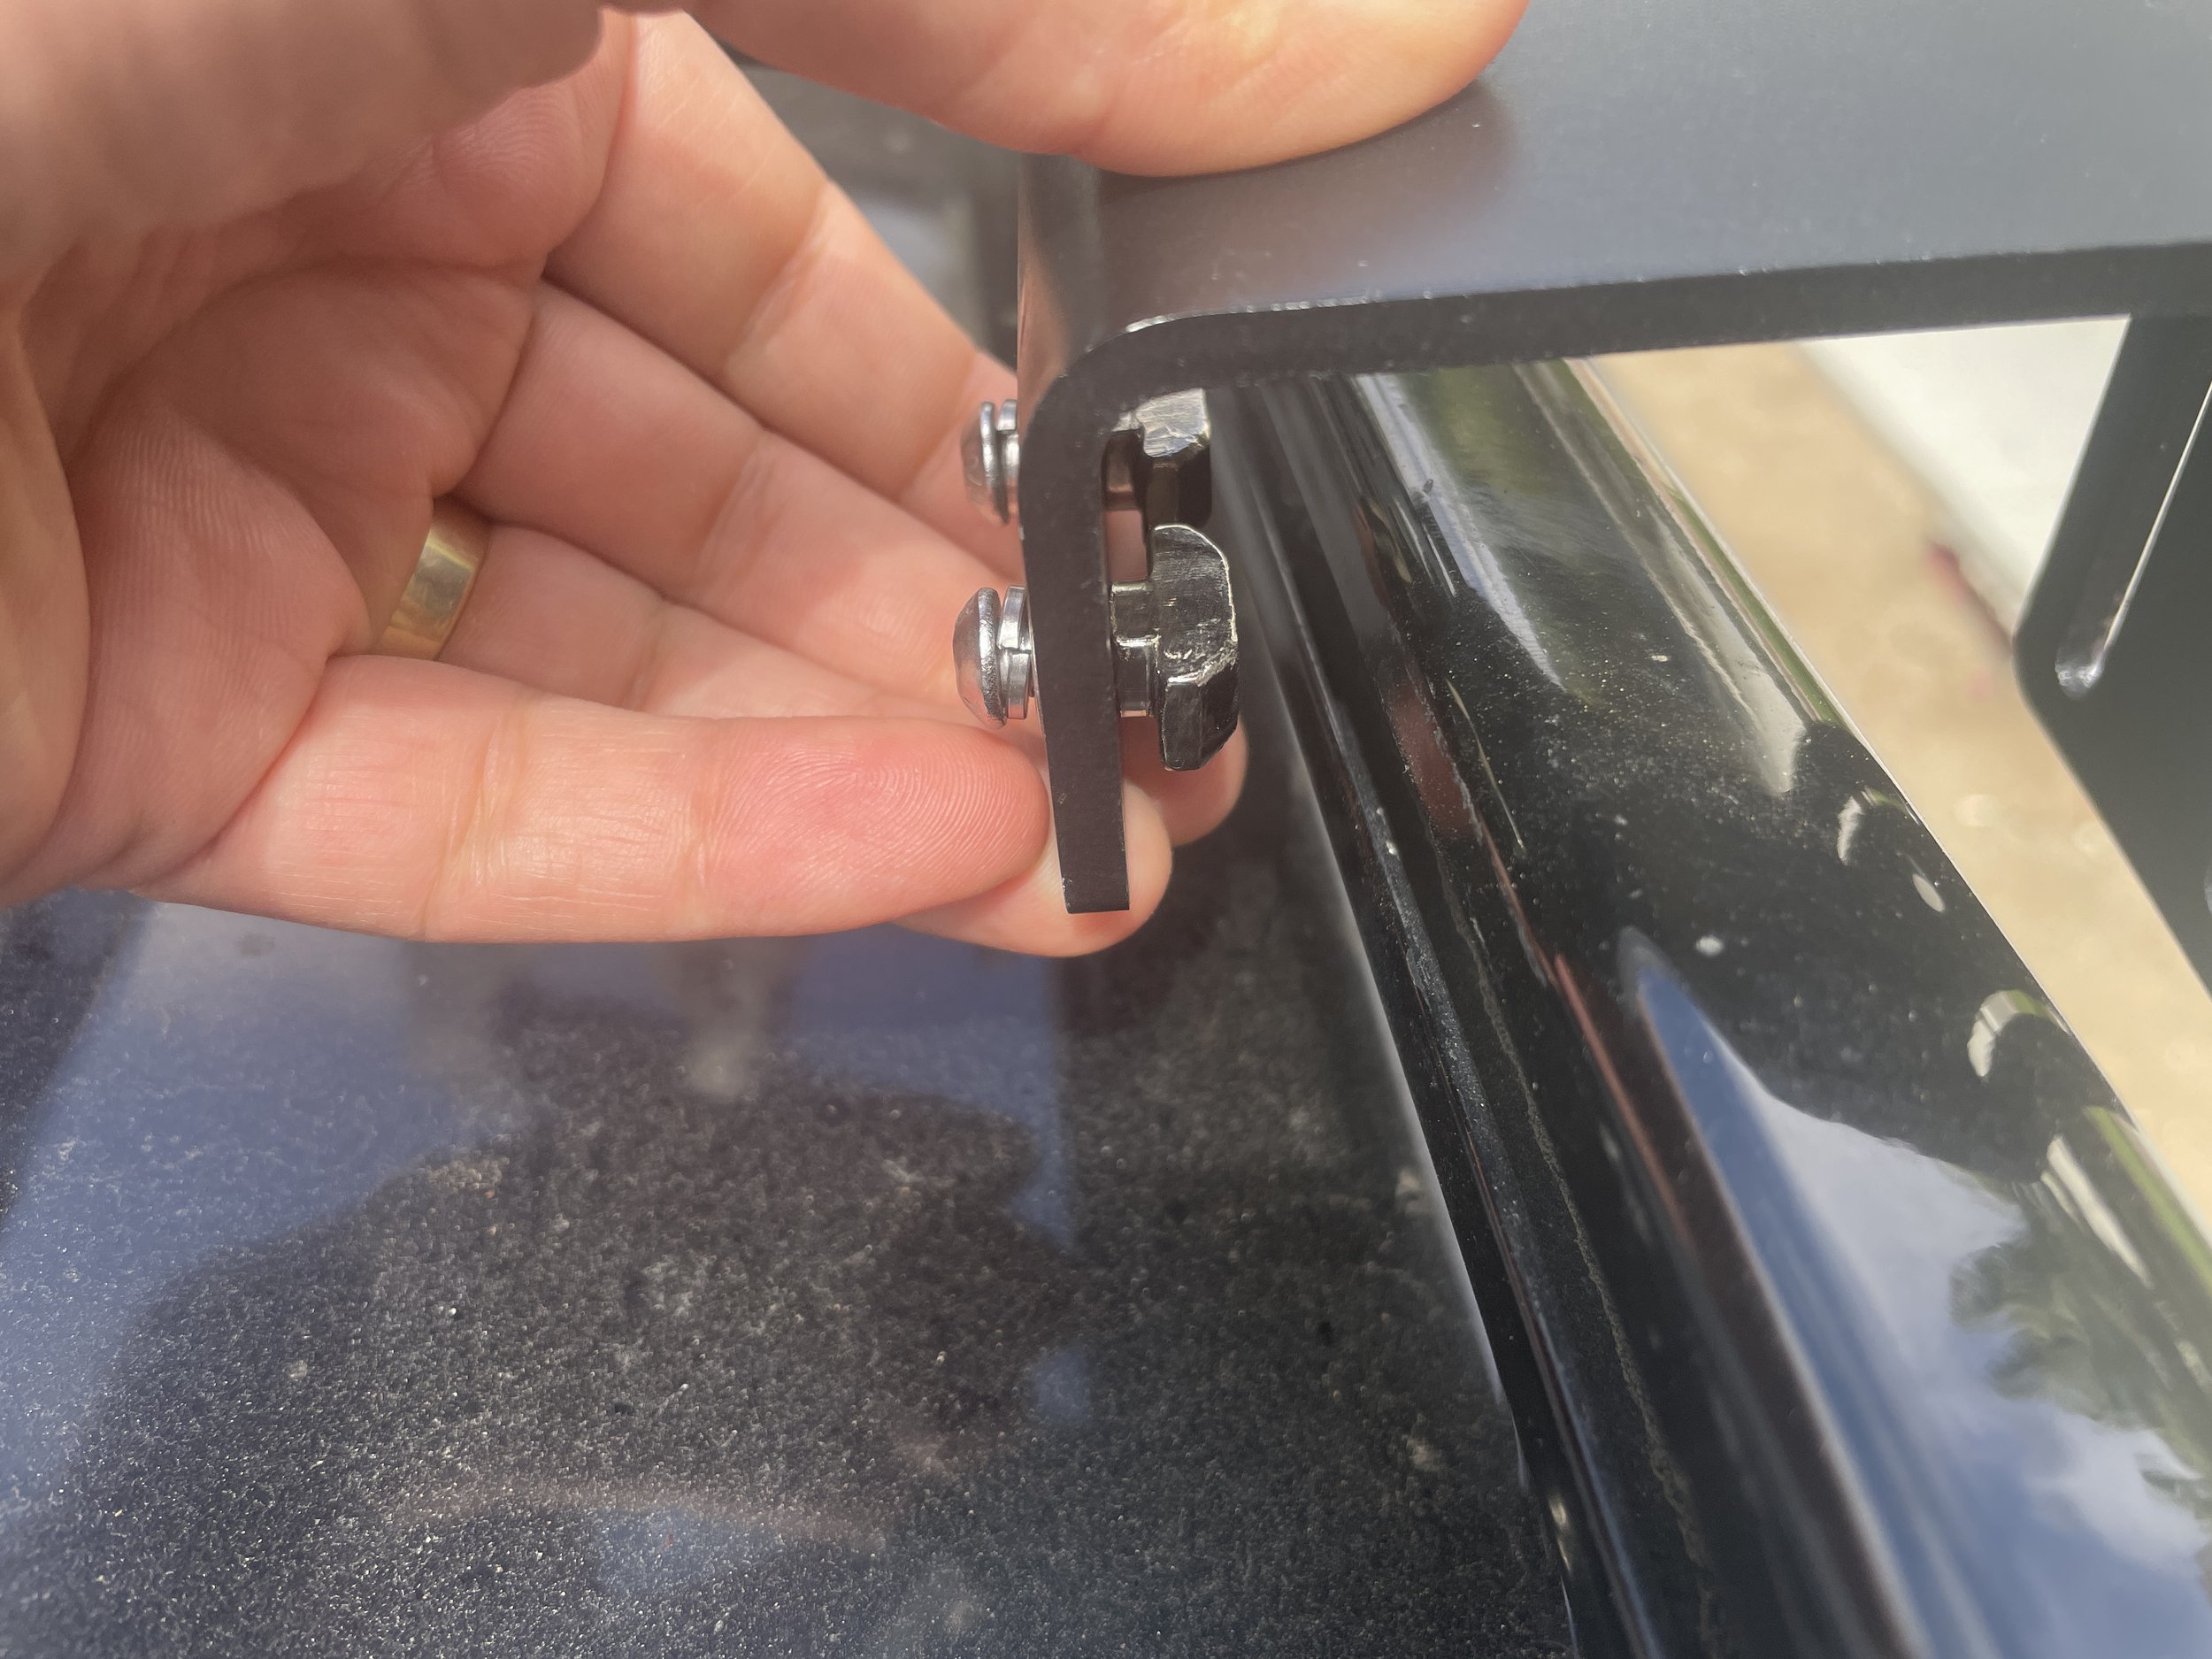
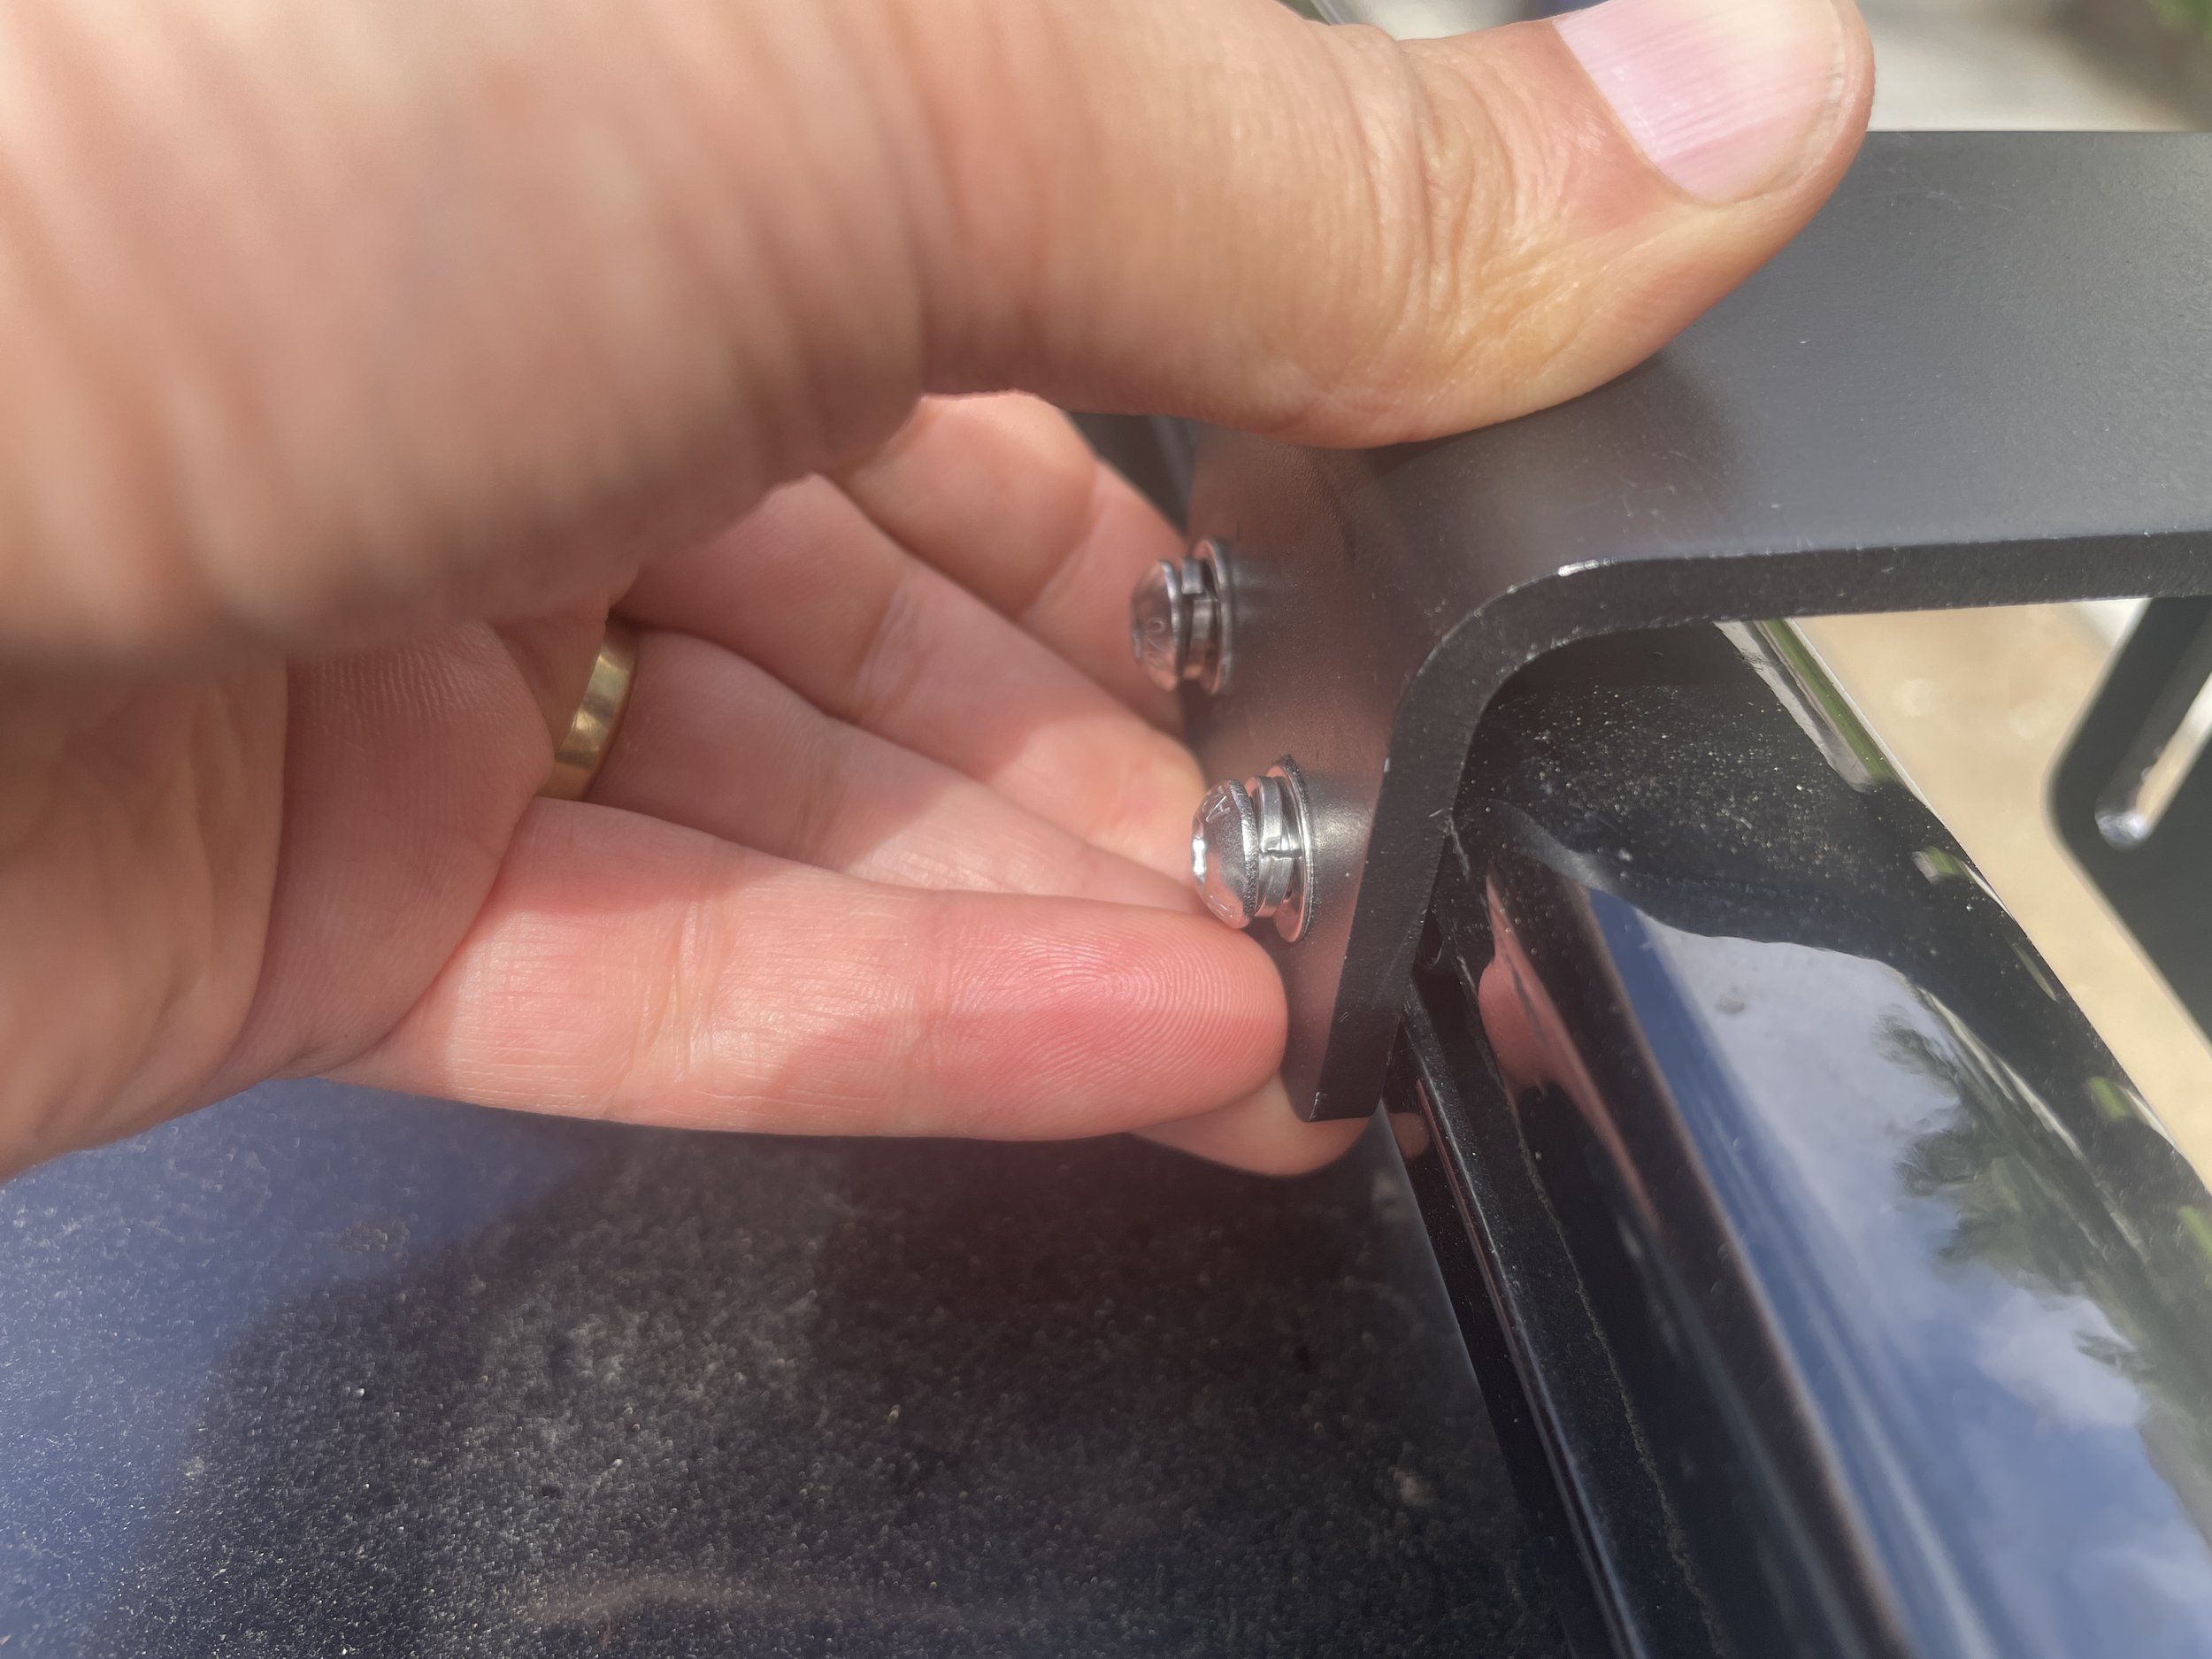
Tighten the bolts to secure in place. The bolts should need ~1 turn or less to tighten in place (assuming they were hand-tight when inserted).
Once the two bolts are tightened down, wiggle the bracket to test the security. The bracket should sit firmly against the roof rail with no play. If there is play in the bracket, loosen the bolts slightly and retighten until the bracket is secure.
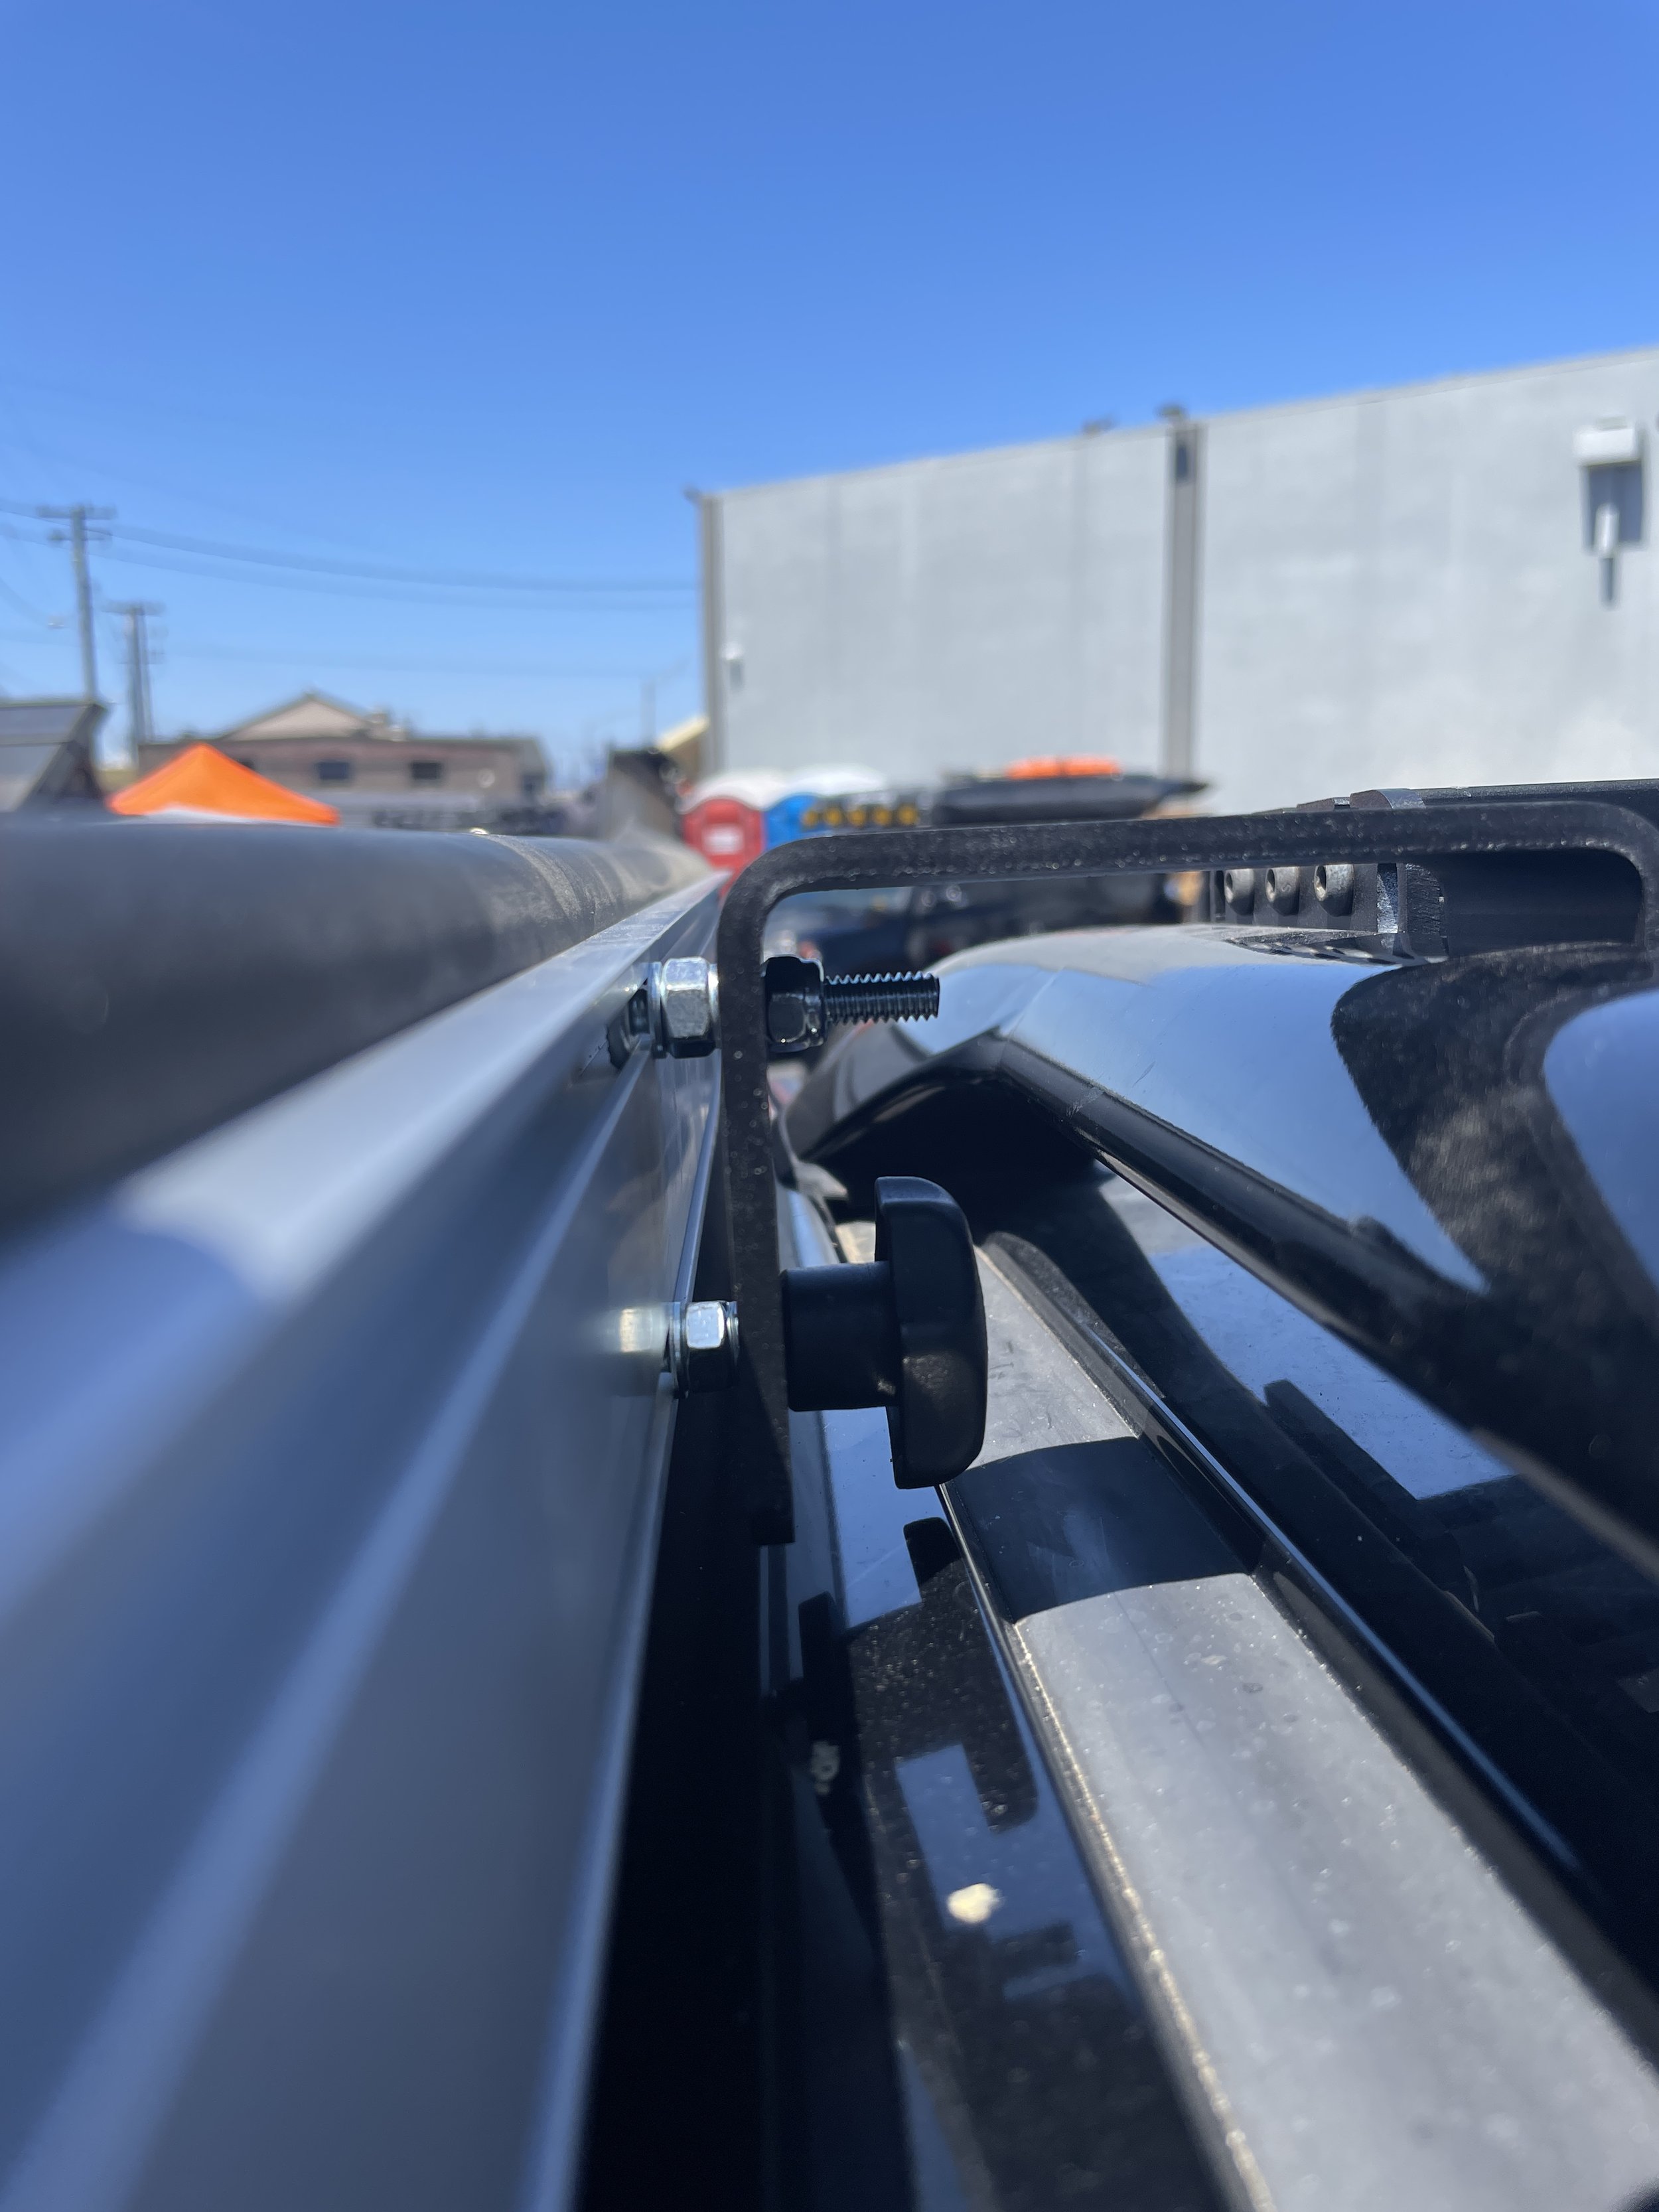
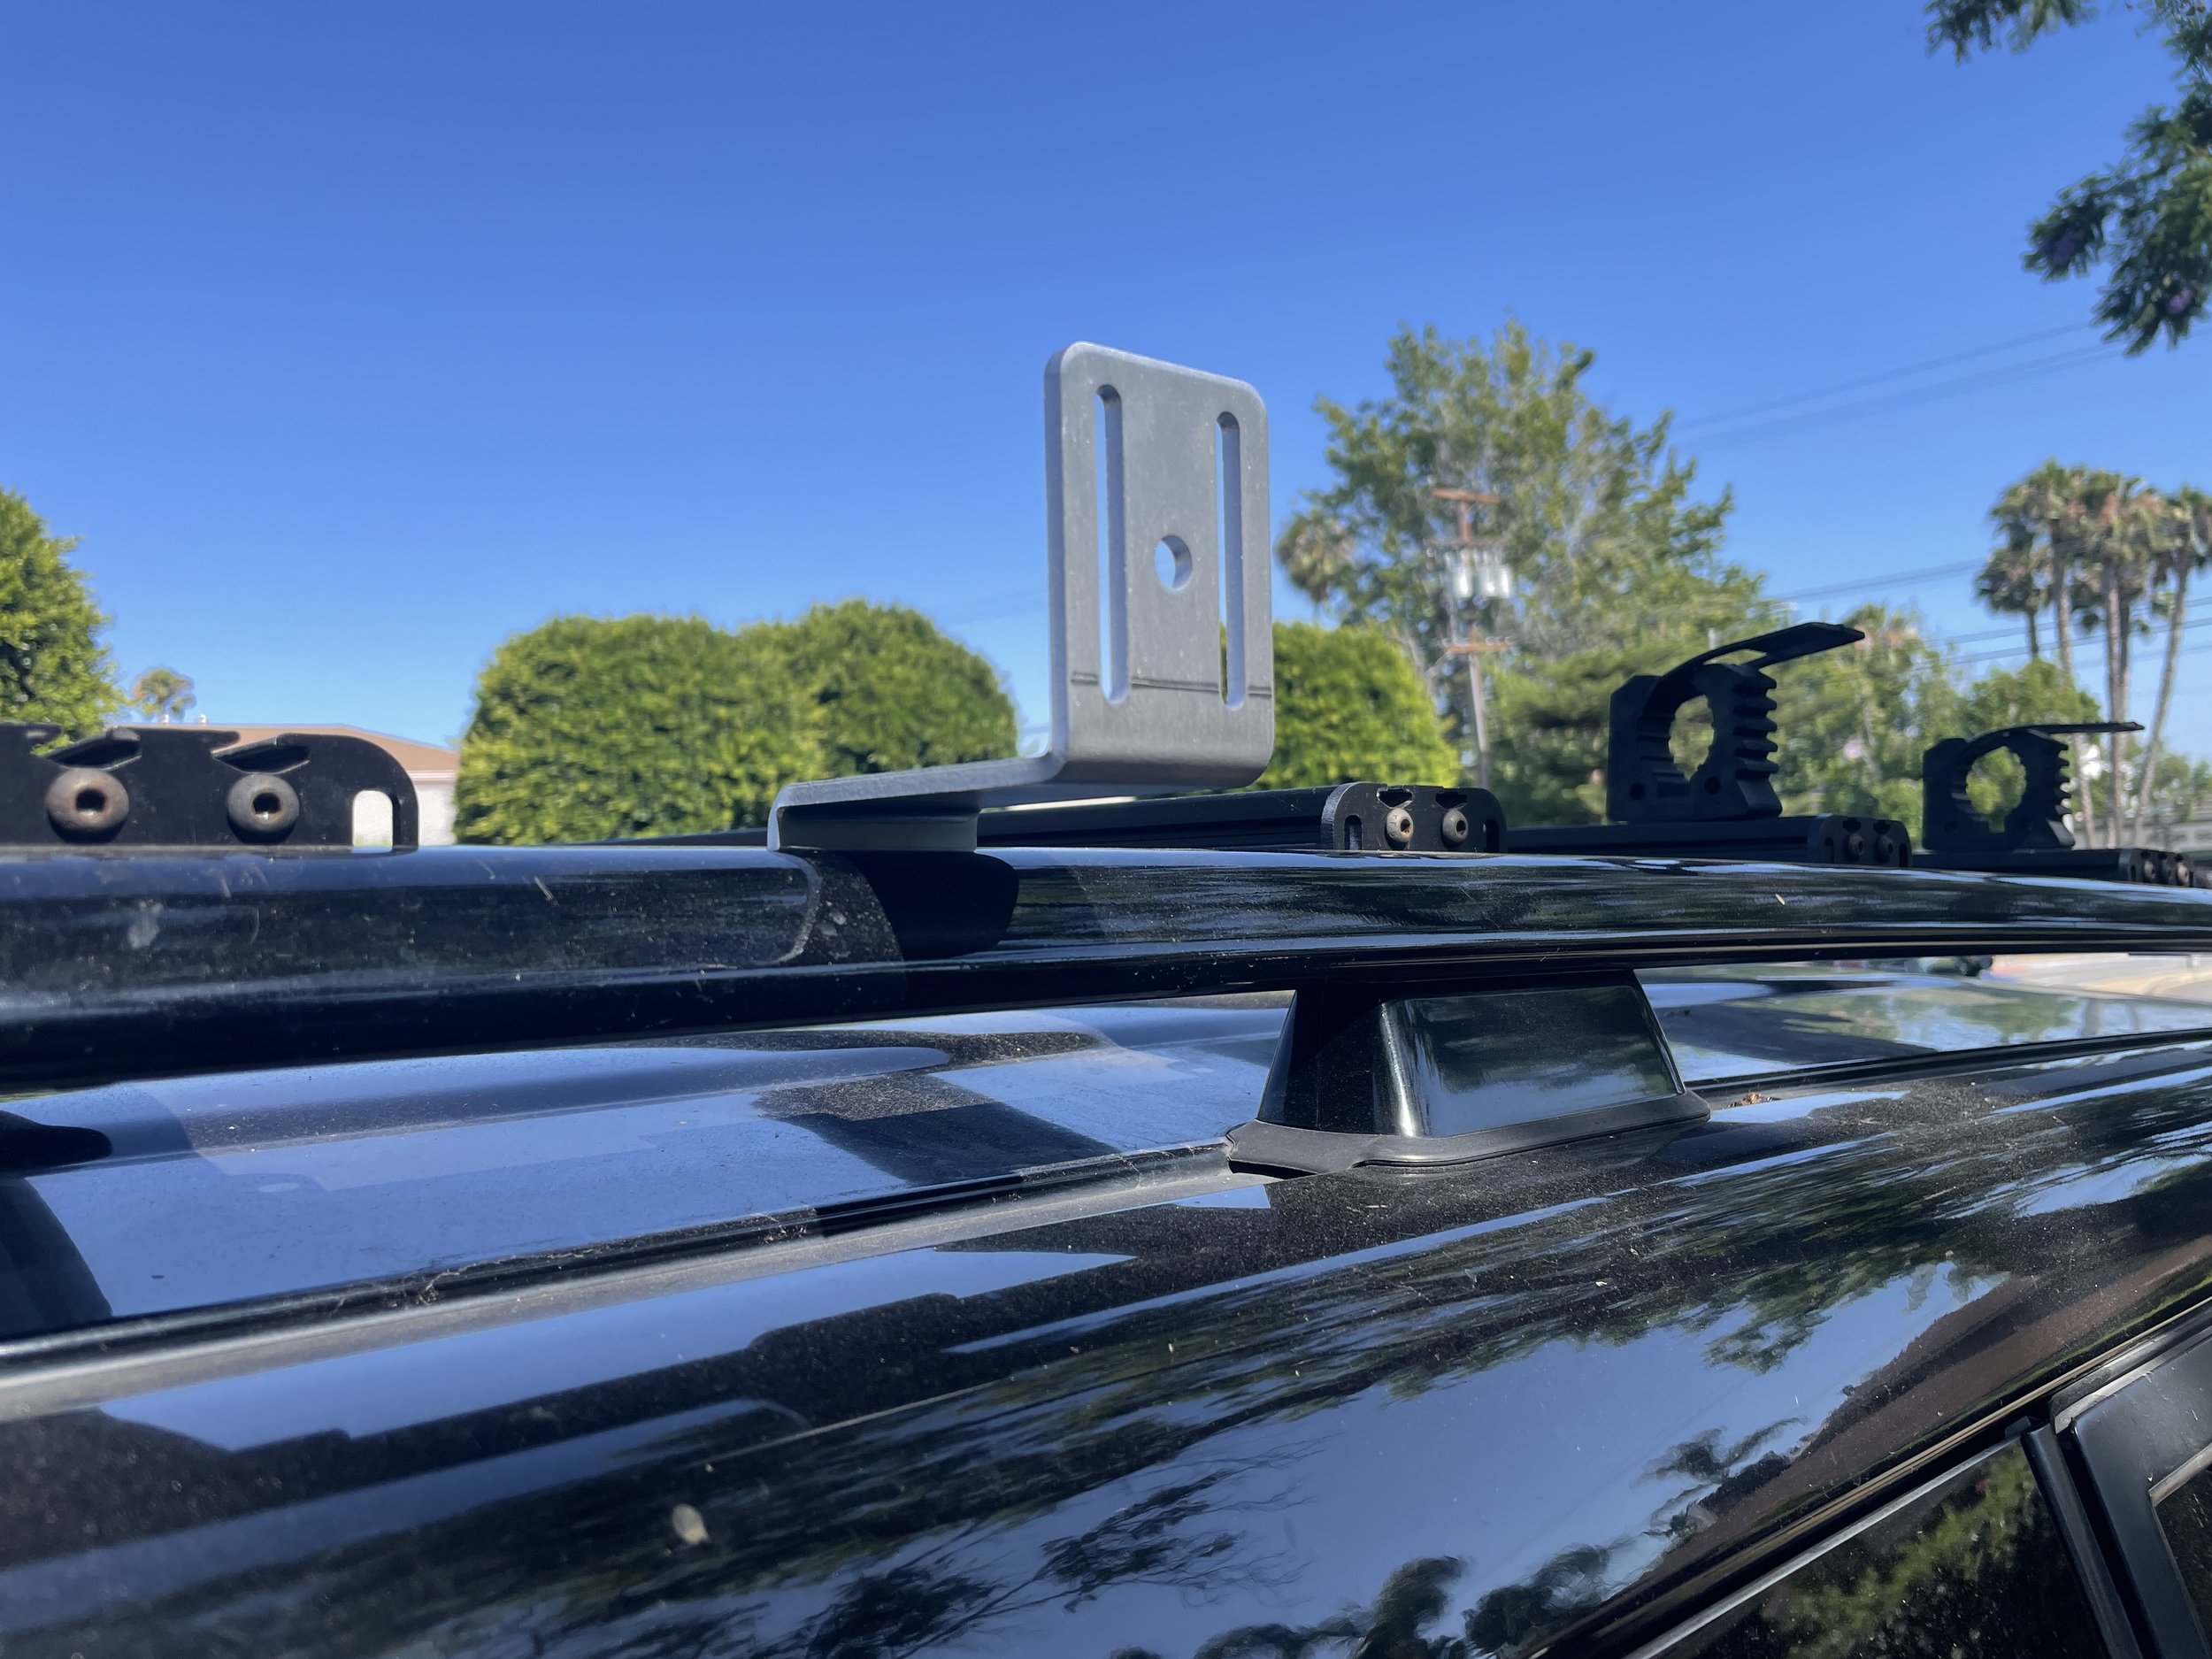
The LOW bracket can be mounted either wrapped over or under the roof rail…
LOW bracket mounted over the roof rail.
LOW bracket mounted under the roof rail.
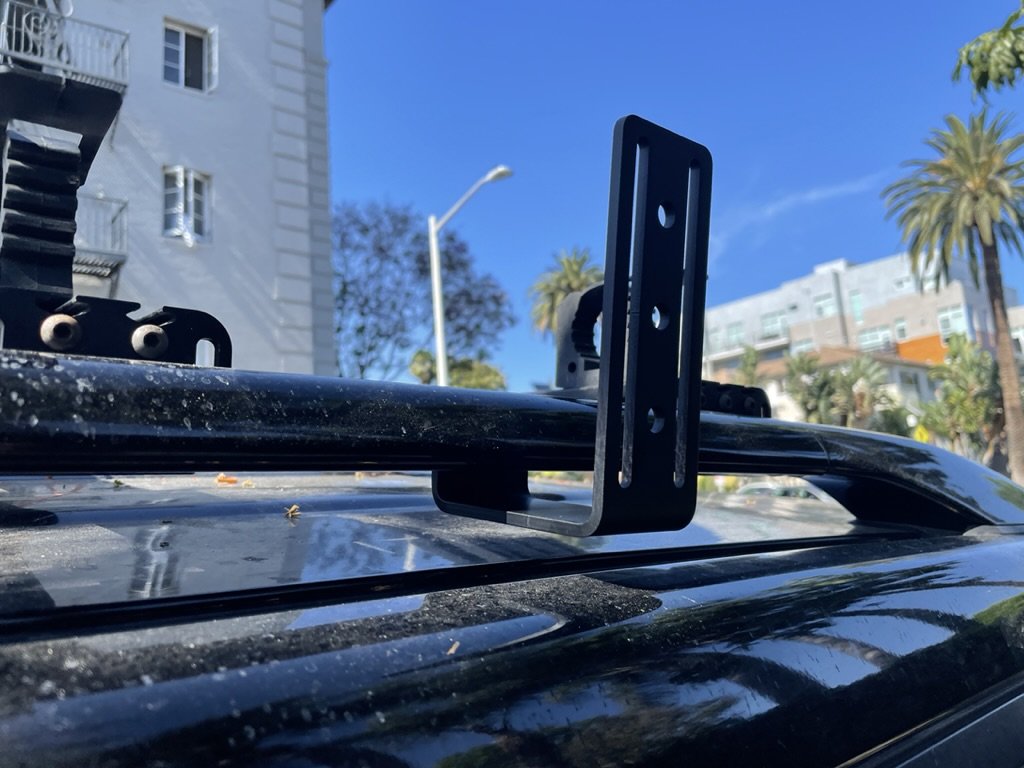
The HIGH bracket will need to be mounted over the rail and pointing up…
HIGH bracket mounted over the roof rail.
The TALL brackets must be mounted under the rail extending upward.
Installing your awning or accessories…
From here, how you mount up your awning or accessories is up to you. Send us photos to show us how you utilize your brackets!
If you have any questions, please don’t hesitate to contact us.