In case you haven’t heard, the Maxitrac awning available from Napa Auto Parts stores is all the overland rage these days. At $99, the price is tough to beat. Even the DIY crowd are admitting that they can’t build a reasonable facsimile for less.
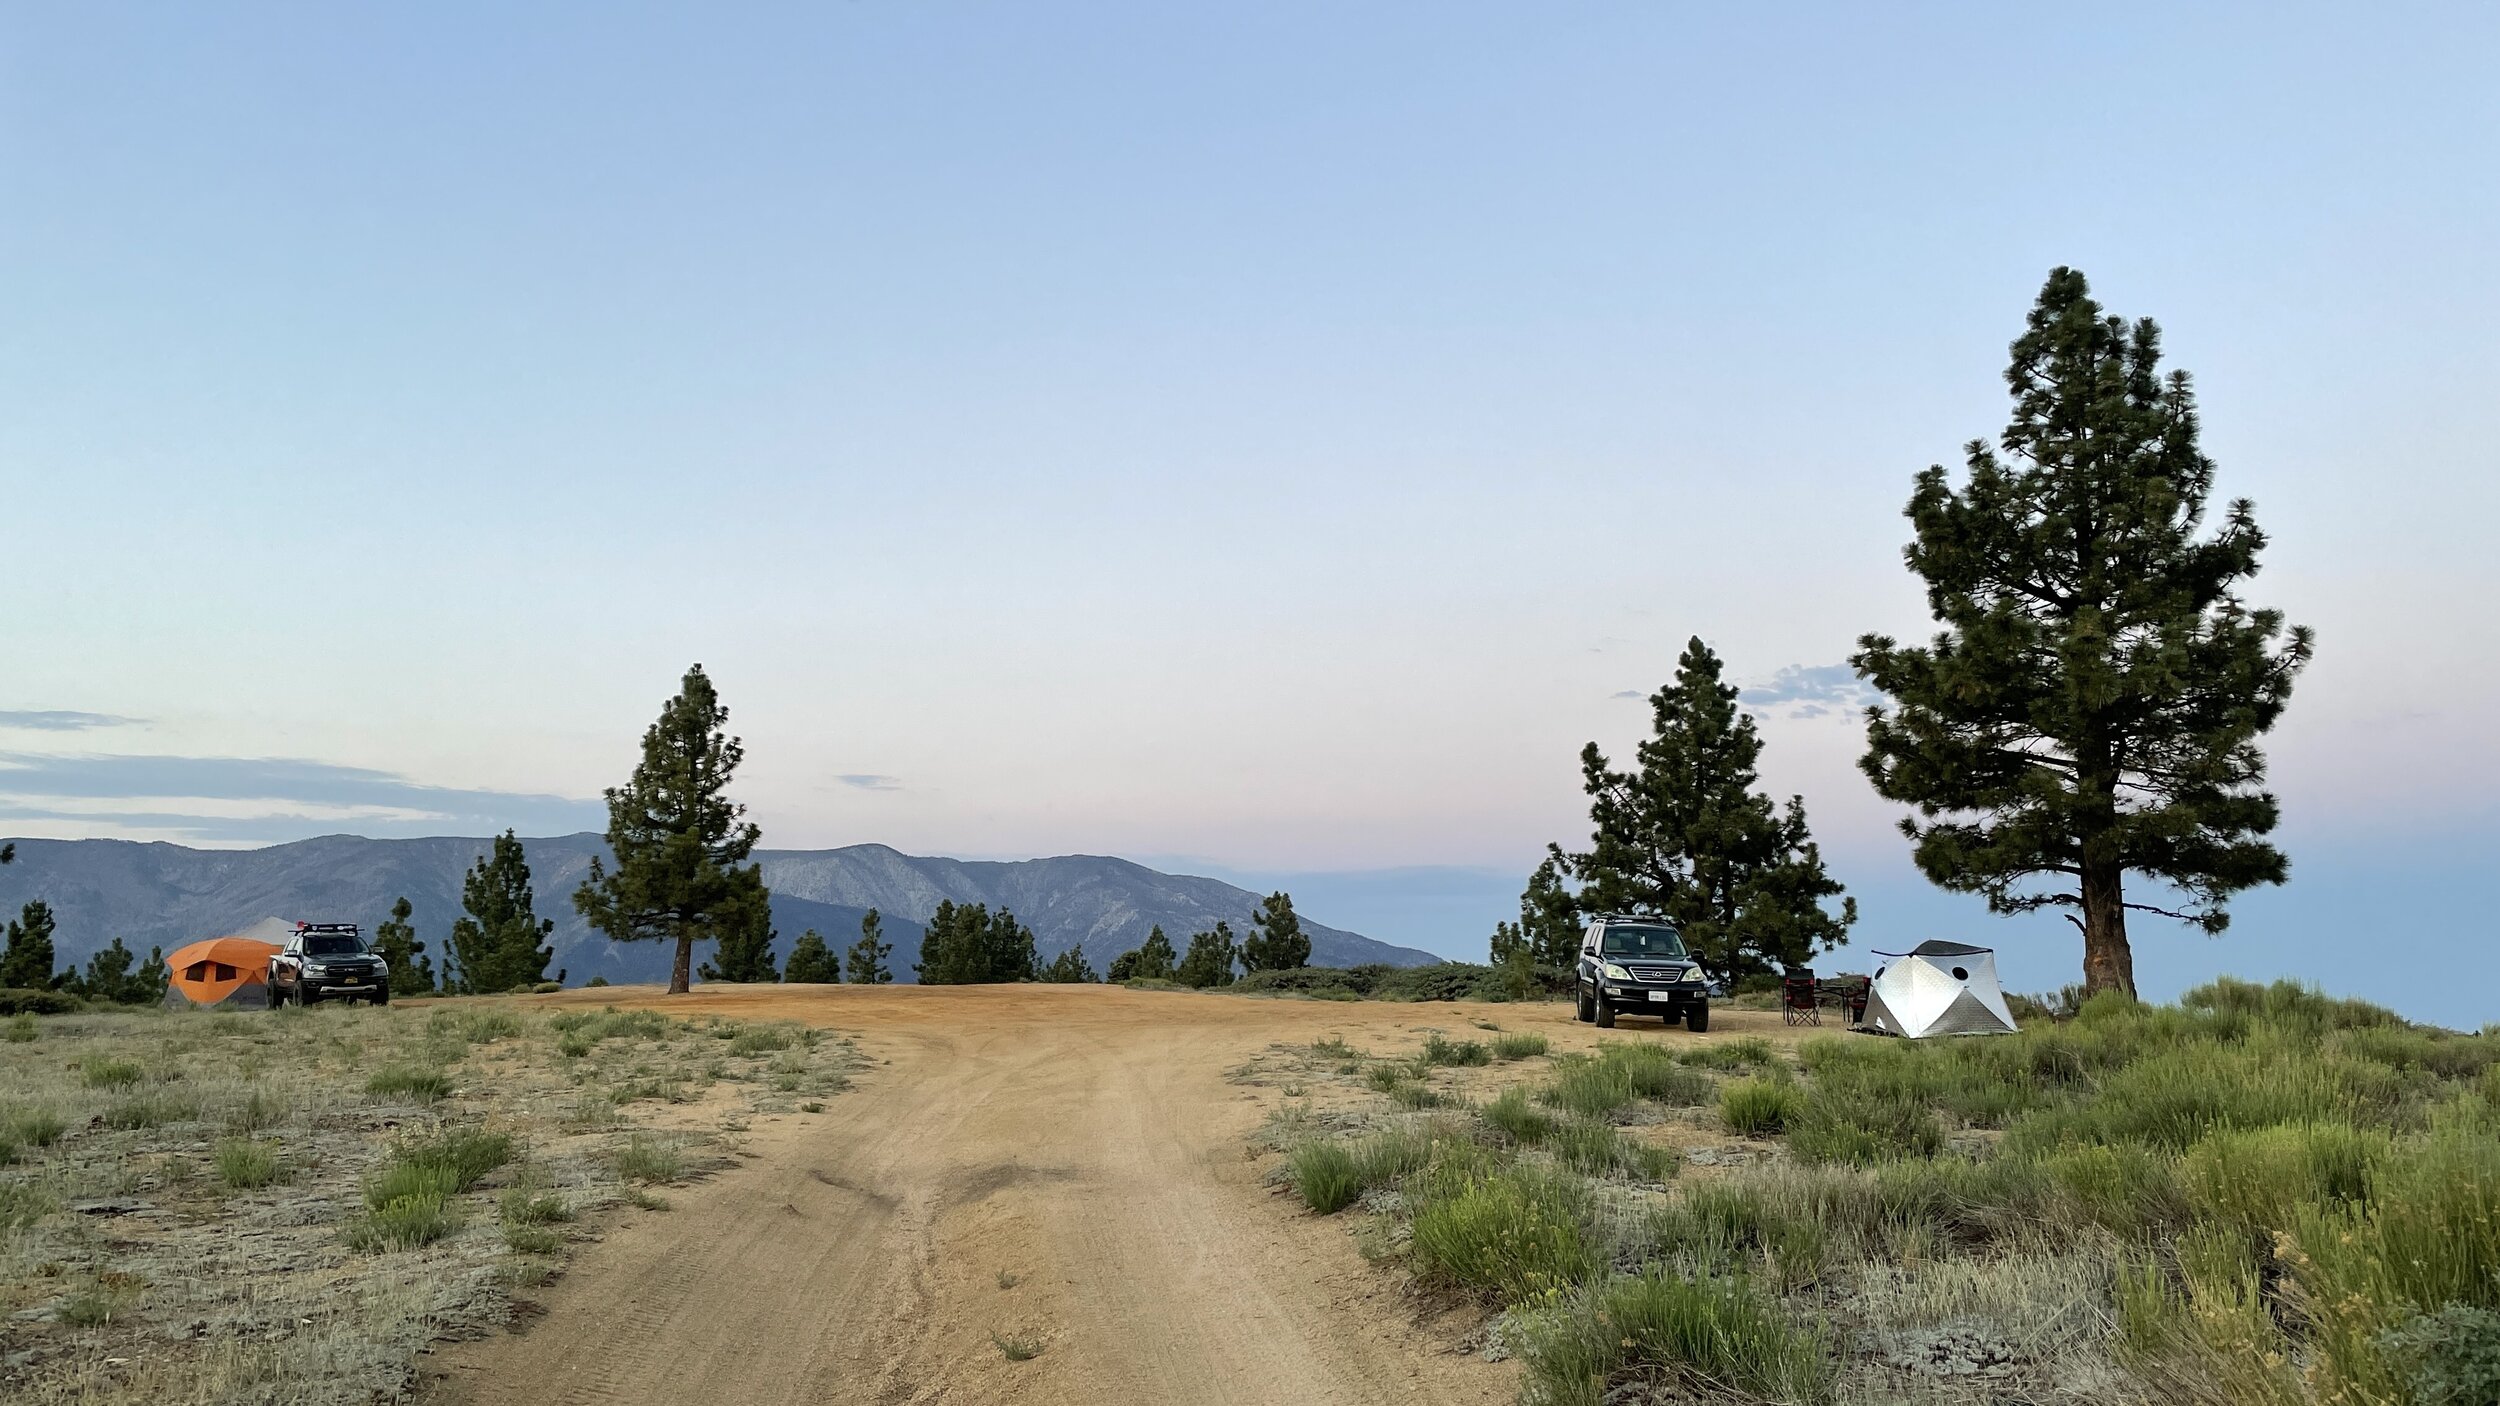
I’ll be the first to admit, I never thought I’d bother with an awning on my vehicle. I just didn’t see a world where it would be particularly useful, especially given the work necessary to set it up and take it down. But, our recent outing in Big Bear was quick to change my mind on that front. We found a spectacular campsite (thanks to some beta from other folks who had just been there) that had a killer view, but limited shade.
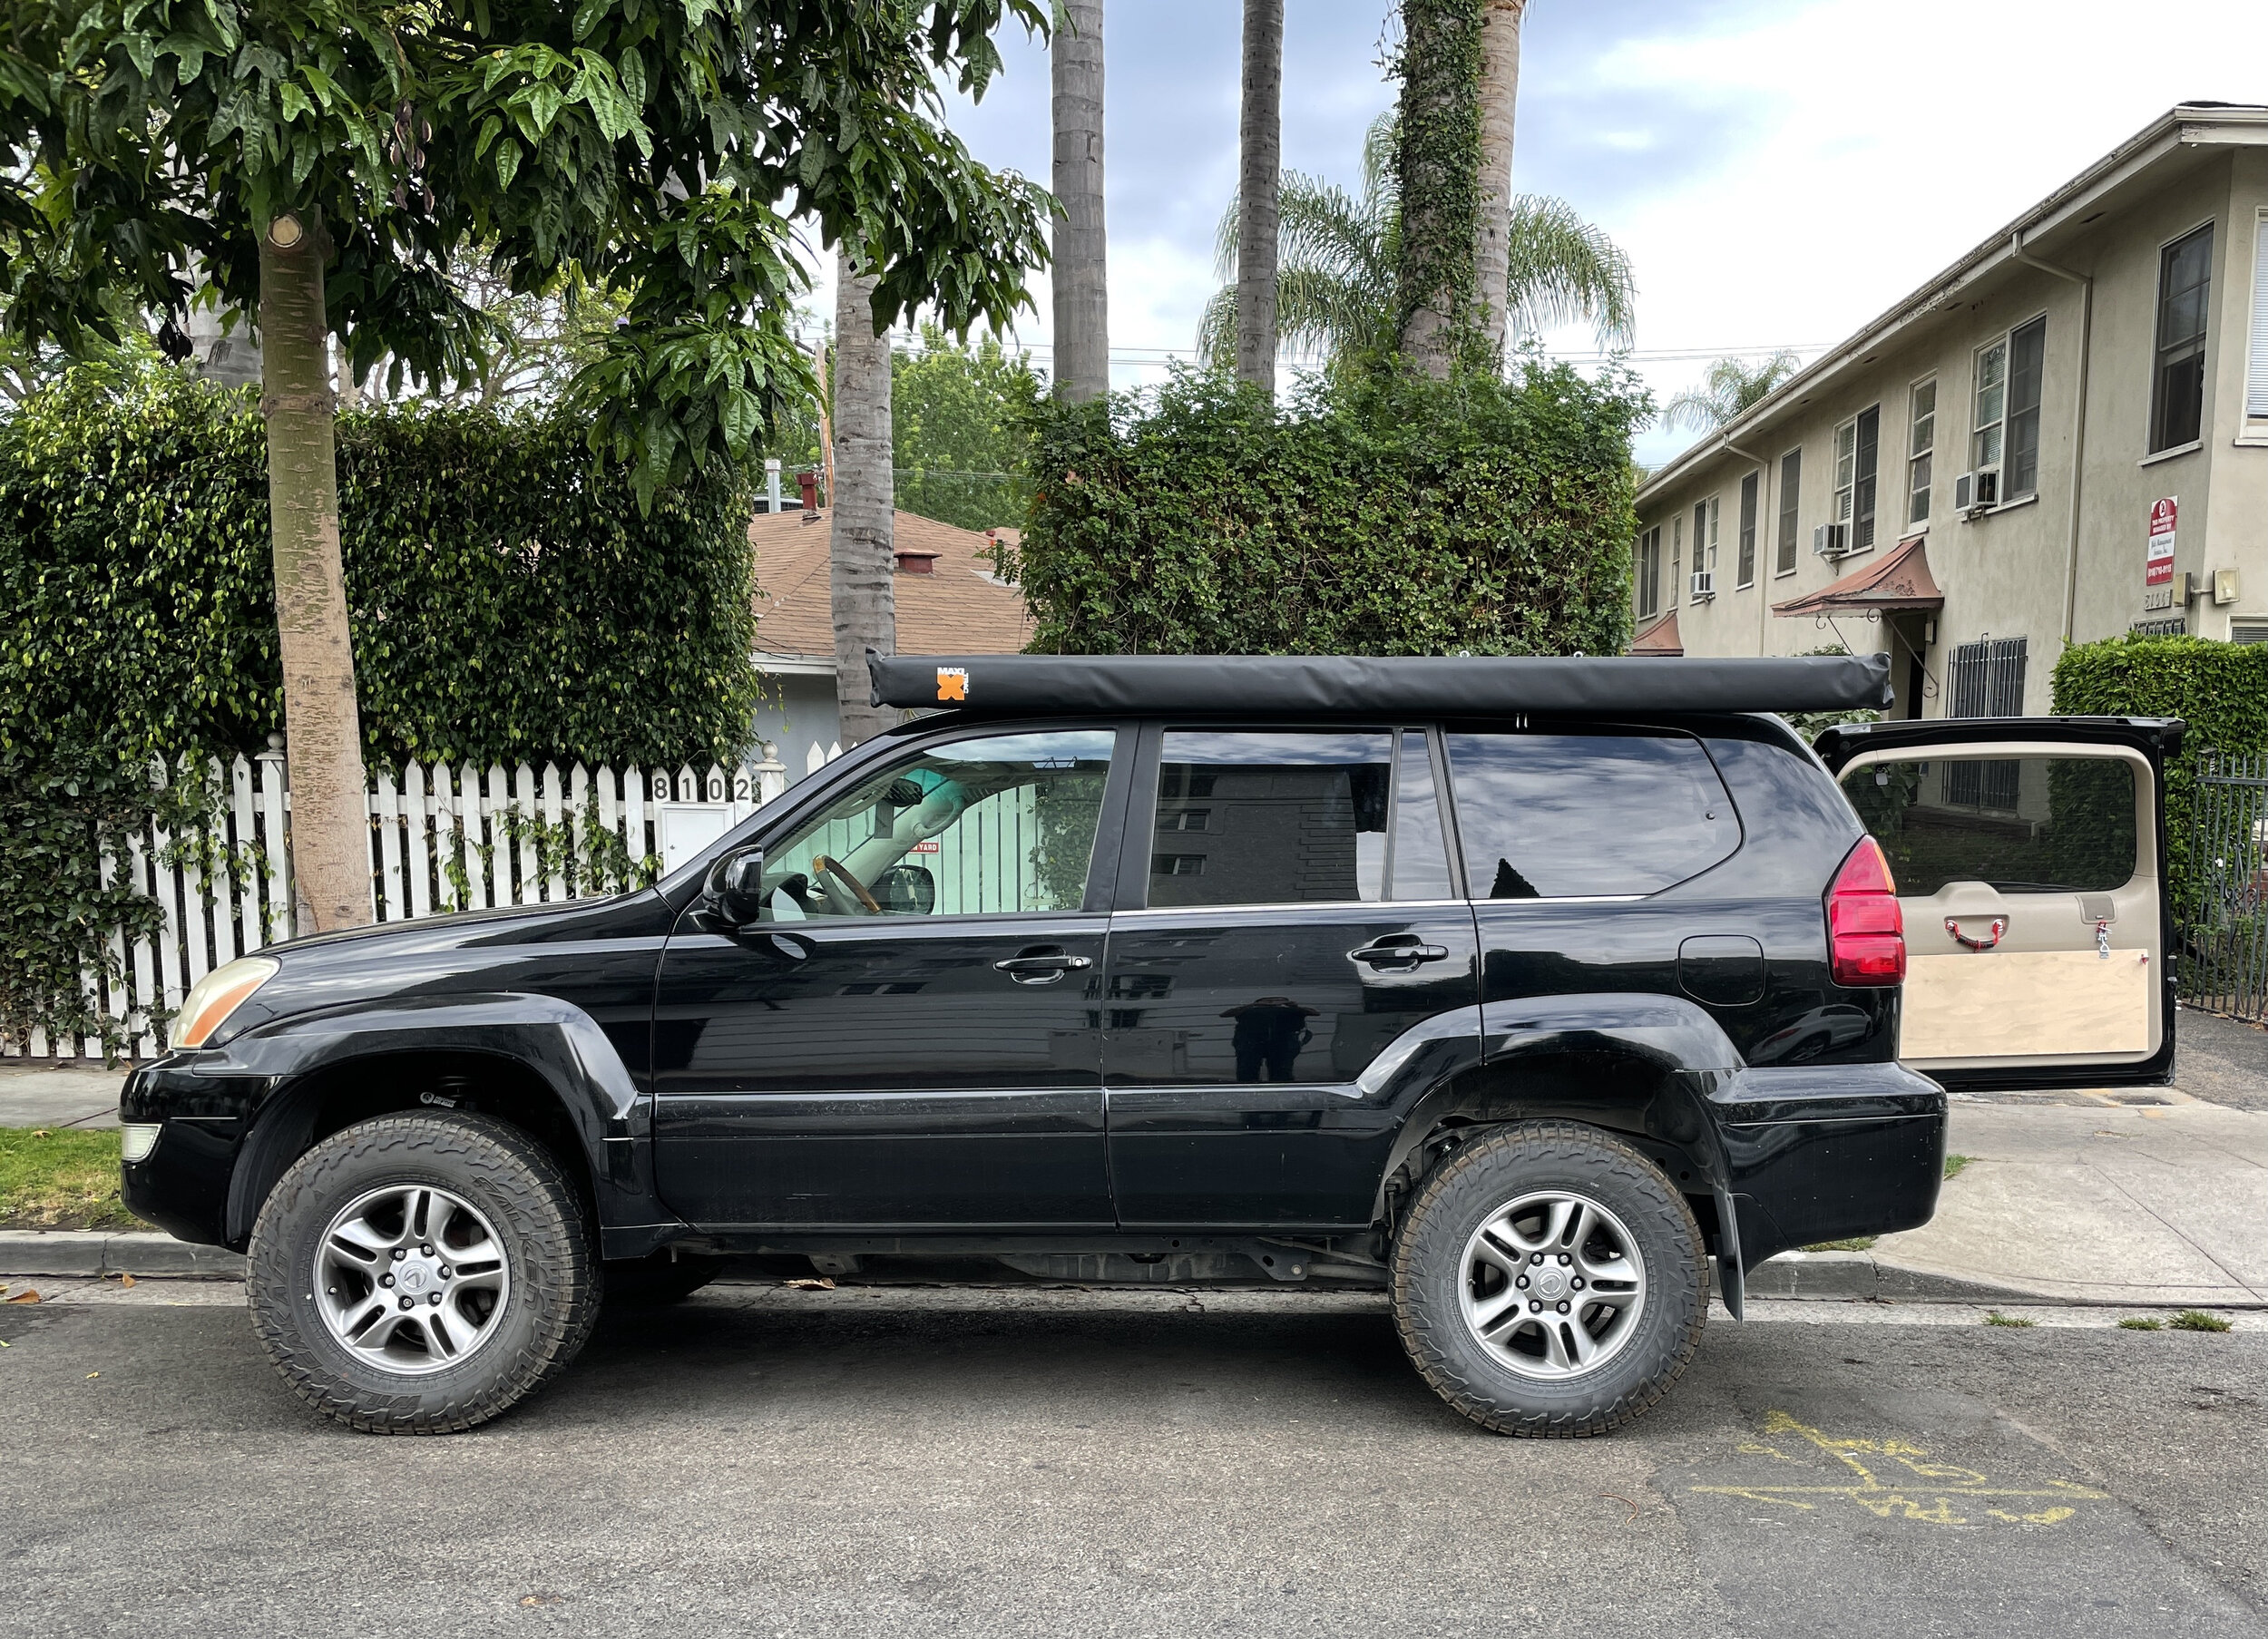
By the end of an afternoon spent chasing shade around our one friendly tree, I was ready to bit the bullet and purchase an awning (especially after reading solid reviews of the Maxitrac offering at this price point). I’ll admit, this is my first vehicle awning, so I don’t have much to compare it to. My research indicates that it’s almost an exact knock-off of the popular ARB offerings (perhaps even a rebrand from the same factory). Upon arrival and initial inspection, it looks reasonably well made with a solid tarpaulin fabric cover and standard t-slot mounting rails.
The other catch for me is that I don’t want the awning on my vehicle all the time. (We street park, and I aim to keep my rig reasonably stock looking to avoid attracting unwanted attention from passers-by.) I also don’t want to have to unbolt the mounting points every time we want to head out for a day/weekend with the awning attached. Some research into quick-release awning mounts led me to a few options:
-
Ironman 4x4: At $89 (on sale, or $129 regularly) these are some of the cheapest offerings I found. They’re also the simplest, which I appreciate. Unfortunately, they happen to be sold out at the time of writing (July ‘21) with an expected restock in September.
-
Prinsu: The Prinsu/CBI offering are also a relatively “reasonable” $119, but they look to be quite bulky which I’m not a fan of.
-
FrontRunner: The kit from FrontRunner looks quite nice (not surprisingly; they make stellar gear). But at $189, all I could do is laugh.
-
Racksbrax: This Australian company makes an equally slim mounting solution that looks great. For an equally laughable $205.
-
ARB: Lastly, ARB makes a few different kits ranging from $69 up. They look decent, but somehow less confidence inspiring than some of the others.
Of these options, the only one that really struck my fancy was the Ironman kit. Unfortunately, it’s sold out for at least a couple of months which got me thinking about other solutions to suit my needs. I’m not overly concerned with lockability as we don’t tend to leave the rig out of eye shot much when traveling. With that in mind, I began to examine the awning and the included mounting materials, as well as the t-track design of the mounting rails on the back of the awning itself.
I discovered that the included L brackets would fit my LFD roof rails nicely with just a couple of fresh holes drilled in them (unfortunately, I have the old style LFD rails that have holes instead of slots). And they will mount with the “L” pointing down which I appreciate for keeping a trim roof line on the GX, especially when the awning isn’t mounted. I also discovered that the t-track is a widely used rail system with quite a few accessories (primarily oriented toward woodworking). I ended up purchasing this kit which includes four 1/4-20 bolts with t-slot compatible heads as well as four hand tightening knobs:

I installed the four bolts into the t-slot tracks on the awning and used a 1/4-20 nut to hold them in place once positioned. Thread the nuts and tighten them almost all the way down. Position the awning as desired and the tighten the nuts down completely to hold the bolts in place.

From there, mounting the awning is as simple as positioning the four bolts through the already-mounted L brackets on the vehicle and tightening down the knobs from the backside. Mounting and removing the awning is a less-than-5-minute procedure that’s totally doable by one person (the first time it’s helpful to have someone else on hand to hold it in place while you tighten everything in place).

While not quite as quick as the lift-on/lift-off solution from Ironman 4x4, the kit off Amazon is a whopping $13 and gets you 98% of the same convenience for much less cost. If you’re budget conscious and (in this case very lightly) DIY oriented, this seems to be a viable mounting option. In fairness, I haven’t had it out on the road yet — I’d highly advise pulling over after 100 miles or so to check the security of the mounting knobs.