

Looking for an easy change to customize your vehicle? The simplicity of plasti-dip makes it easy!
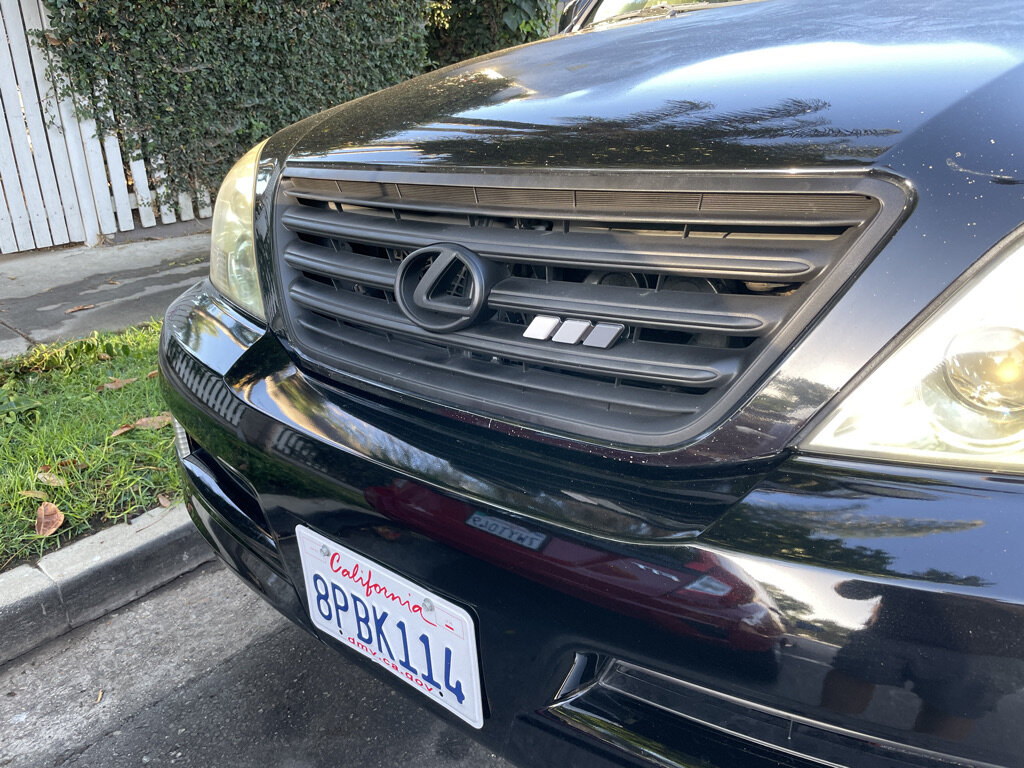
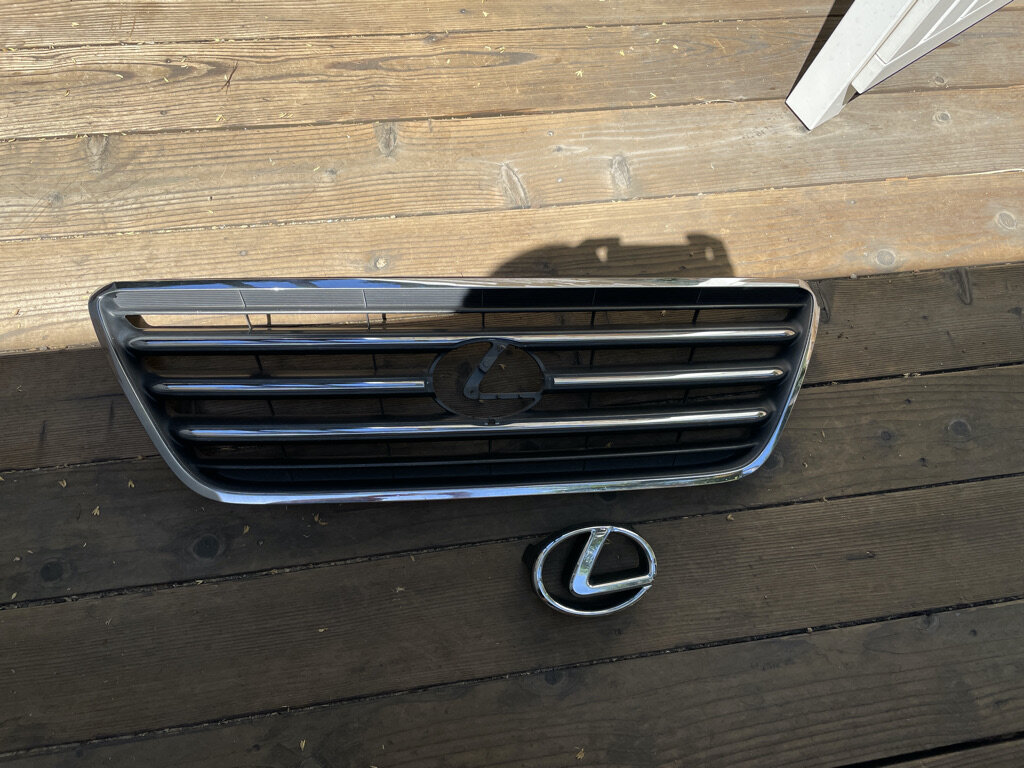
We’re slowly getting rid of the chrome bits on our ‘04 GX470, starting with the front grill. This was our first foray into the world of plasti-dip, but it likely won’t be our last (especially since we’re planning to hit the rear emblems and chrome trim). If you’re going to dip your grill, we’d highly advise removing it from the vehicle. With the GX470, it’s straightforward — we’ll get into the how-to in a moment. IF you’re not going to remove your grill, then mask the area very well and put trash bags or something behind the grill. You do not want the plasti-dip gumming up your radiator.
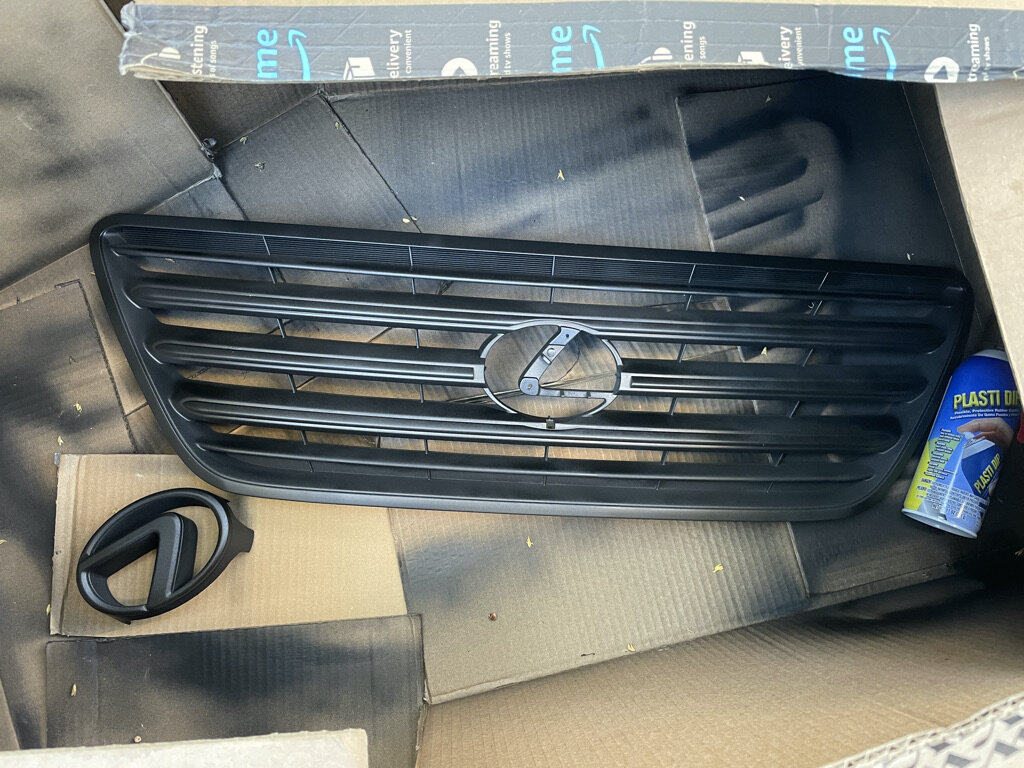
Here’s our finished product, but there’s plenty of room to customize and make it your own. (Yes, our hood is in rough shape.)
How-To…
Start by popping the hood. Once you lift the hood, there are ten 10mm nuts that need to be removed:
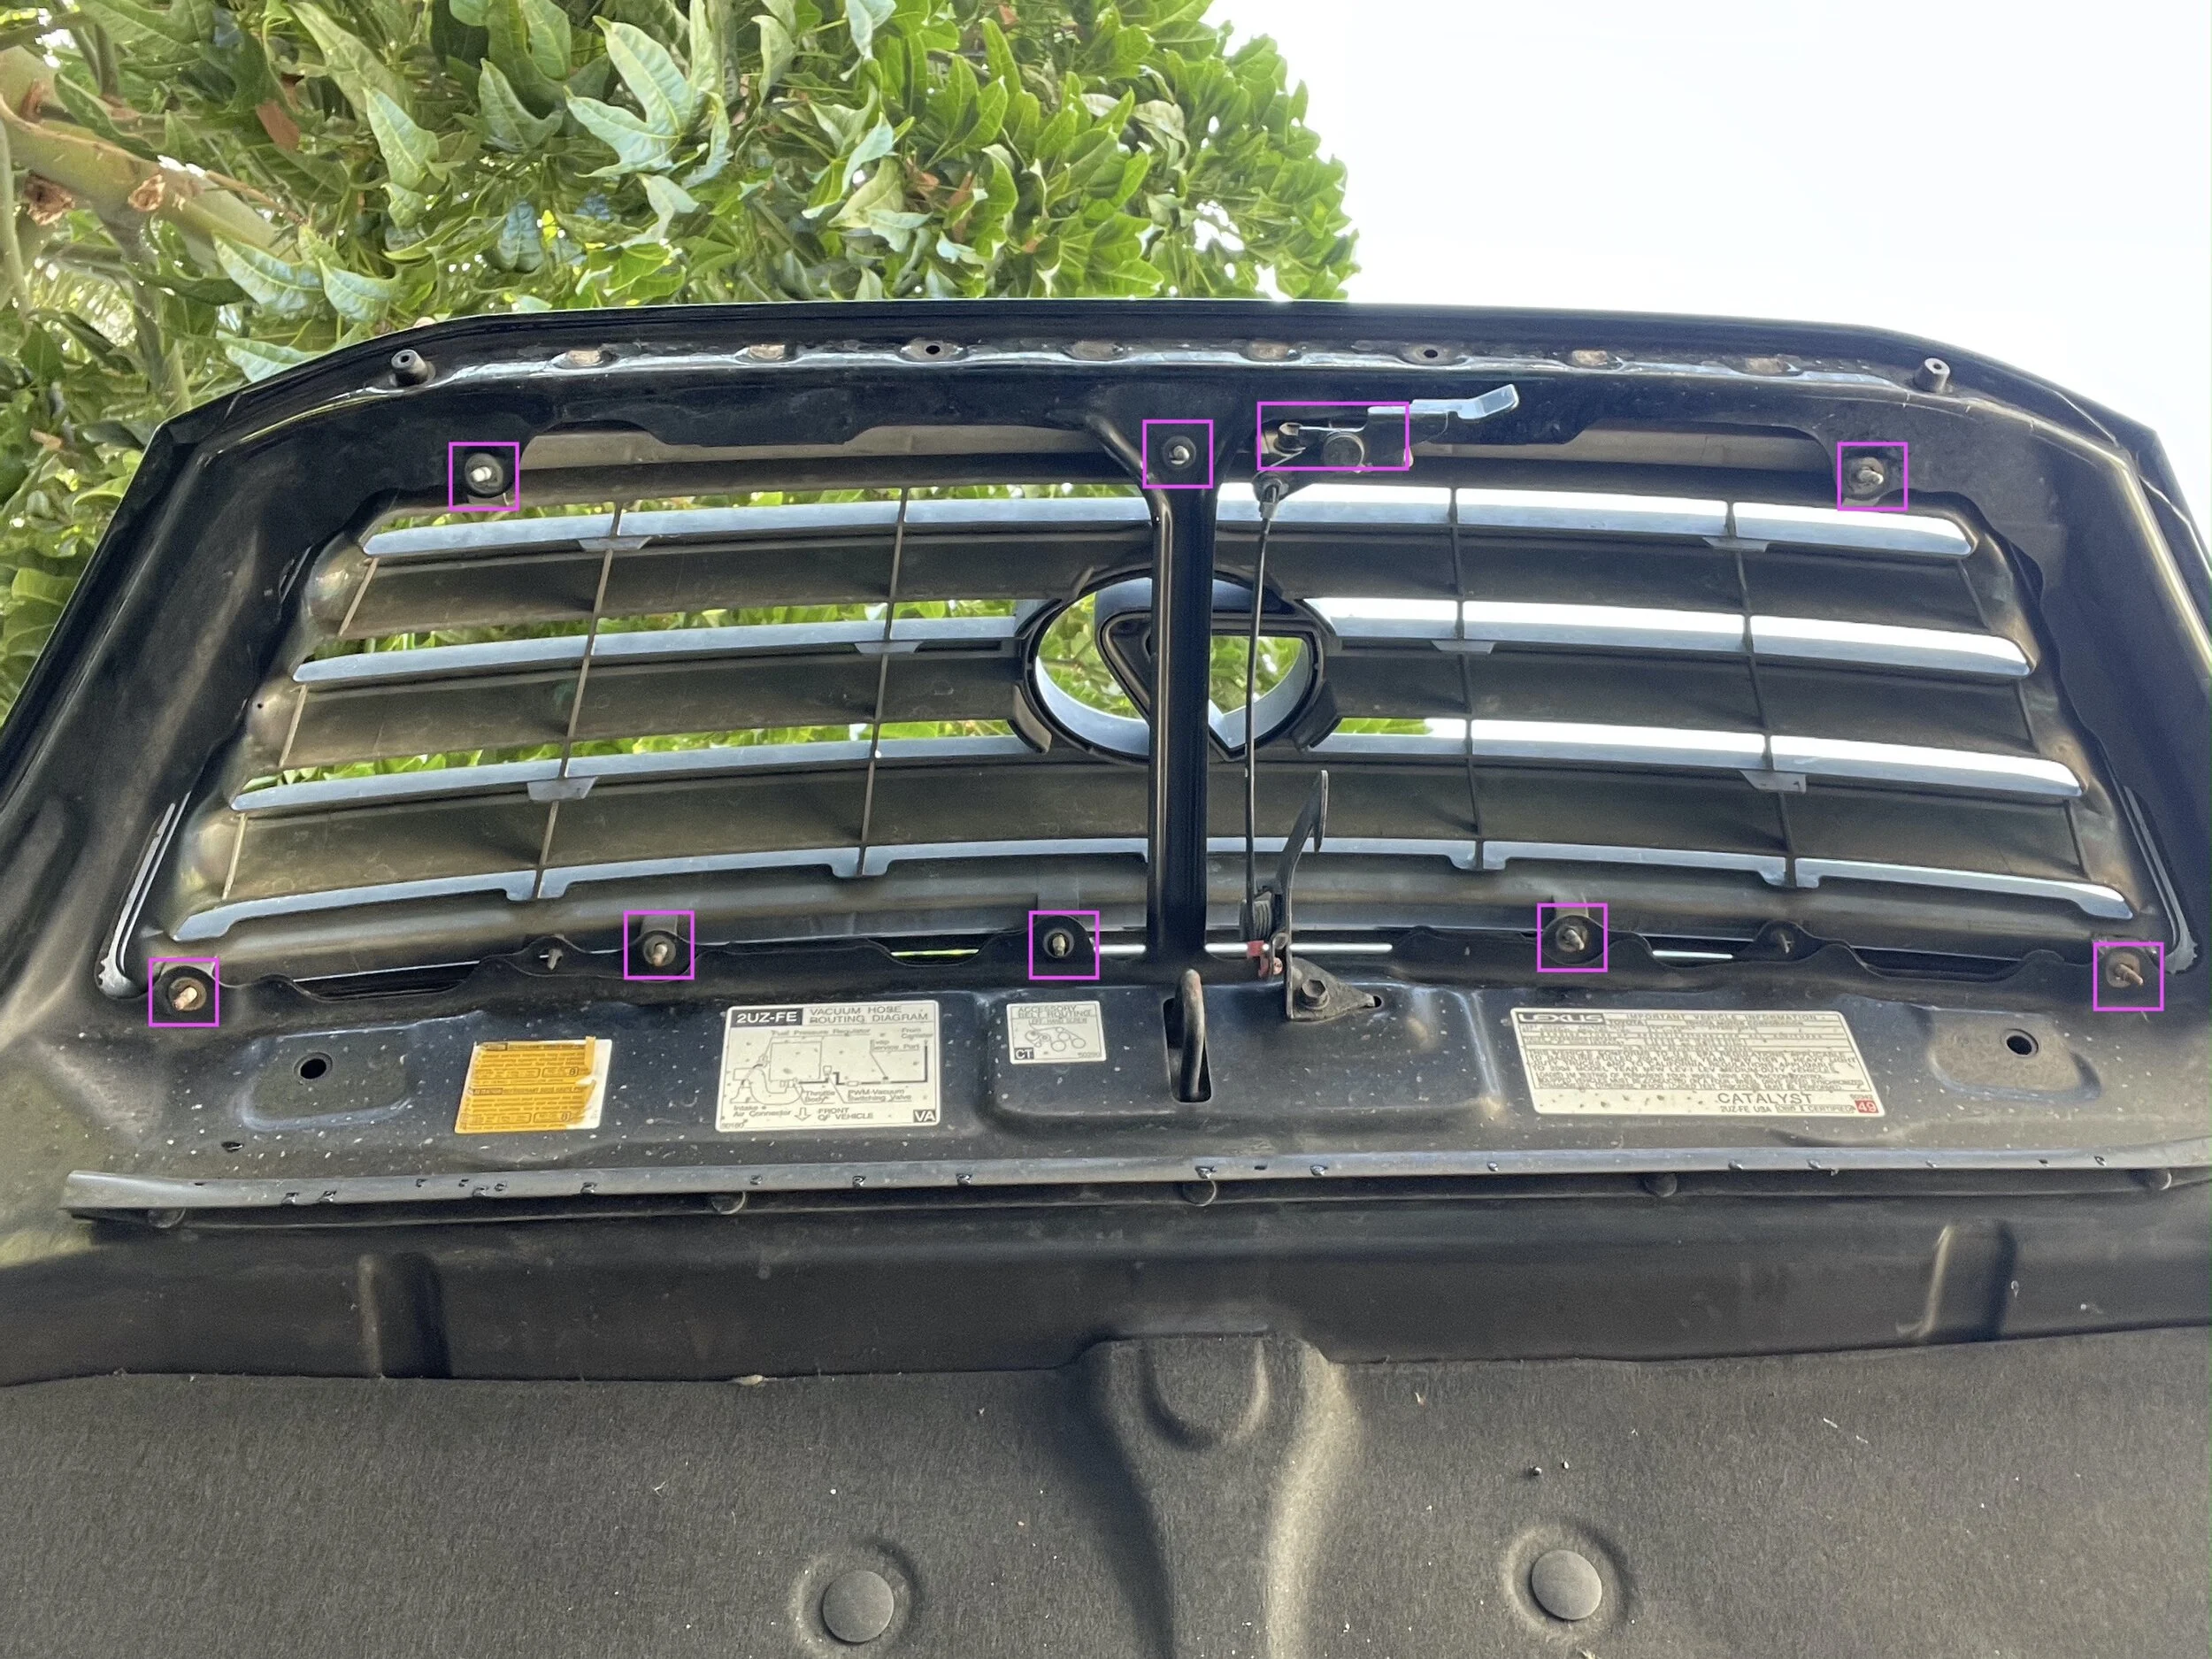
NOTE: Be careful when loosening the bolts. They are mounted to plastic tabs on the backside of the grill and the plastic will get brittle with age and break off easily. We know because we broke one or two during extraction. If you can’t loosen the bolts without breaking the mounting points, then resort to leaving the grill on the vehicle and masking it well.
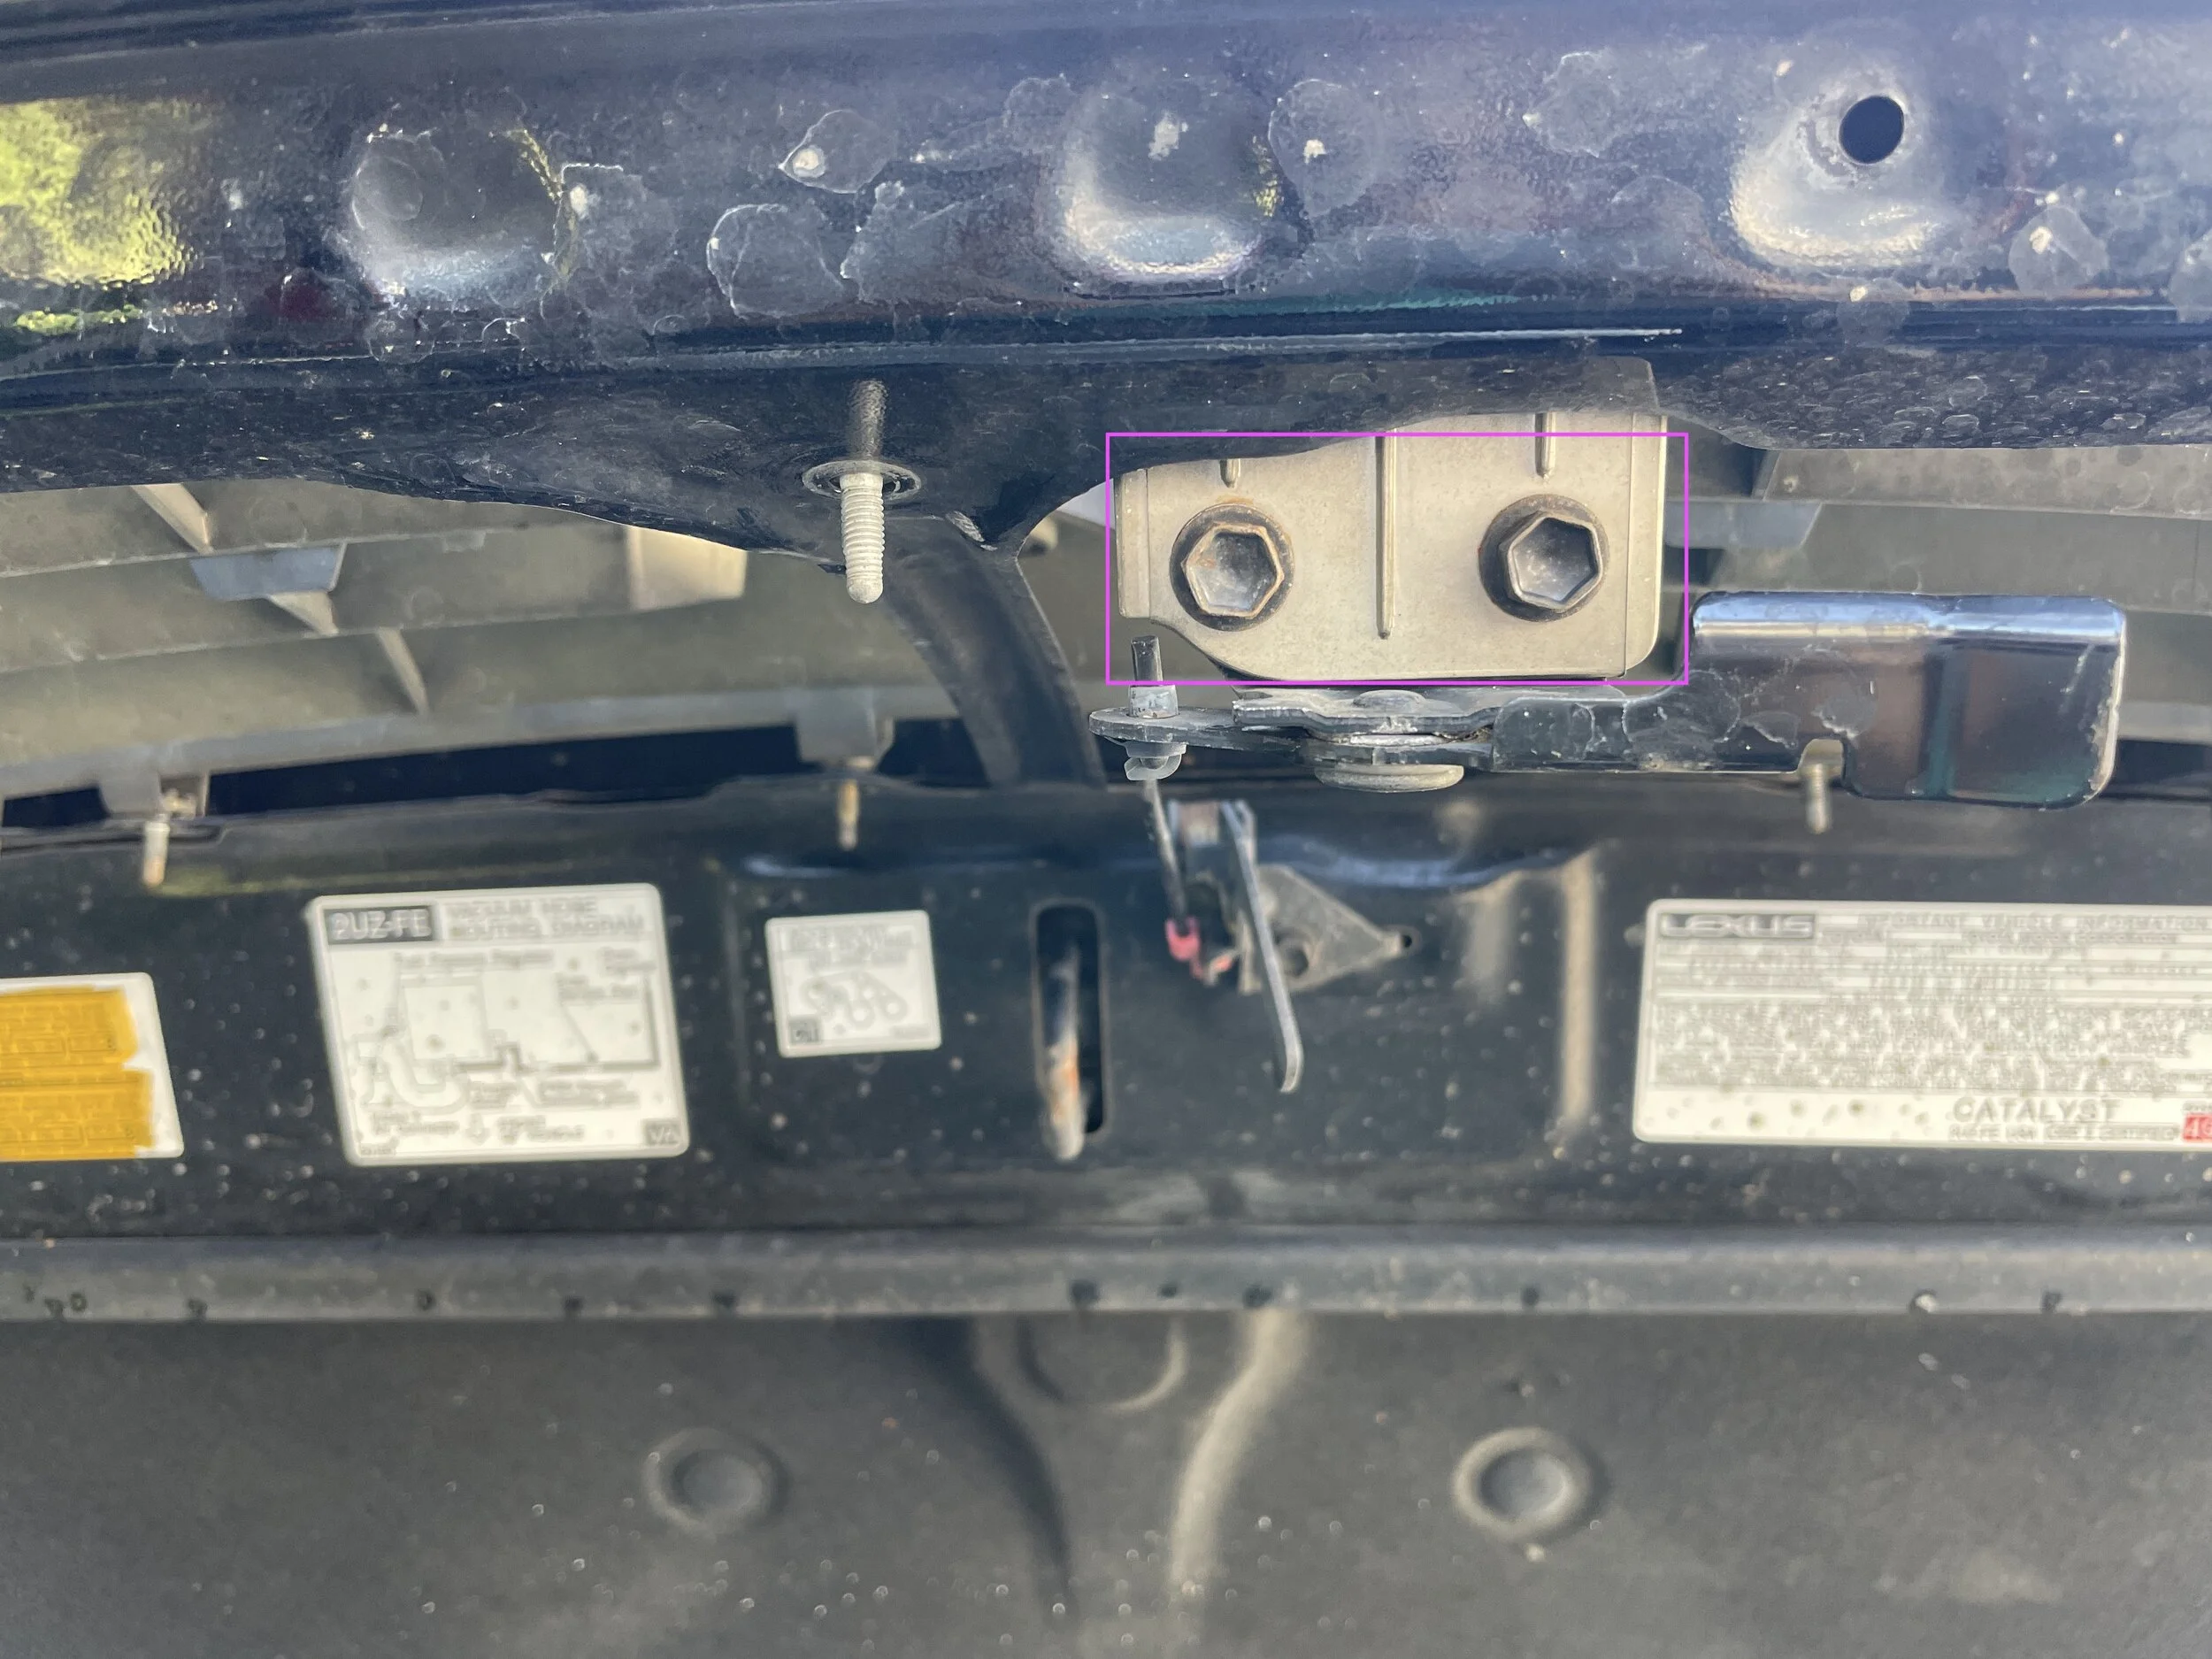
You’ll also need to remove two bolts that hold the release lever in place (why this was mounted to the grill and not the hood is beyond me):
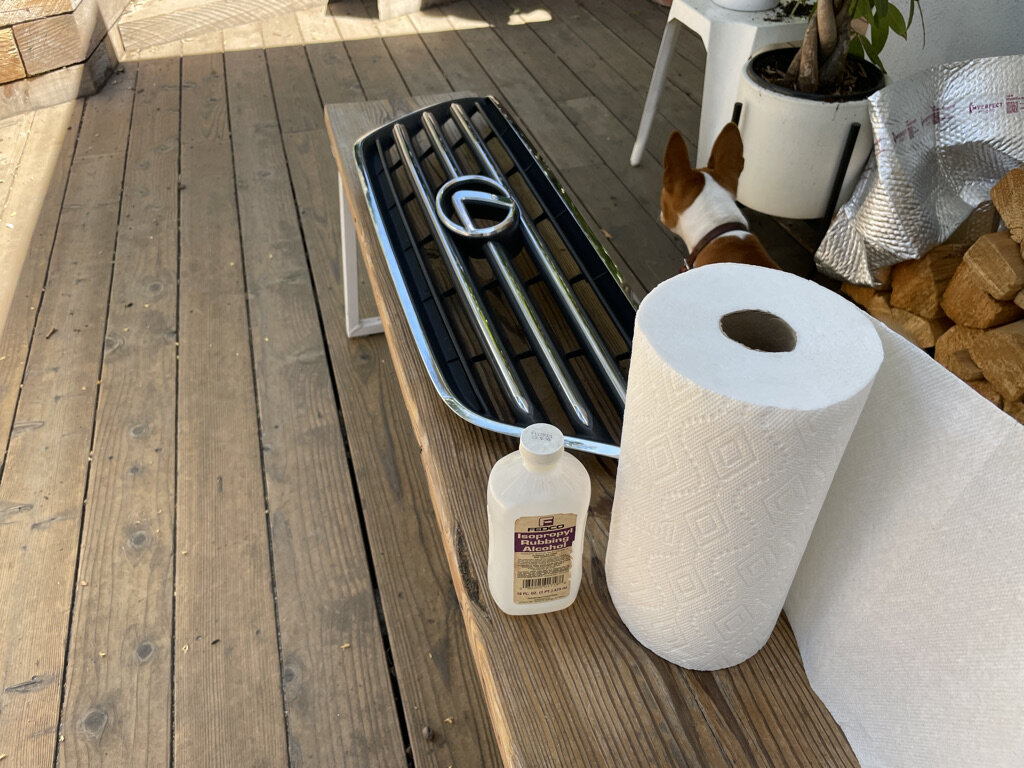
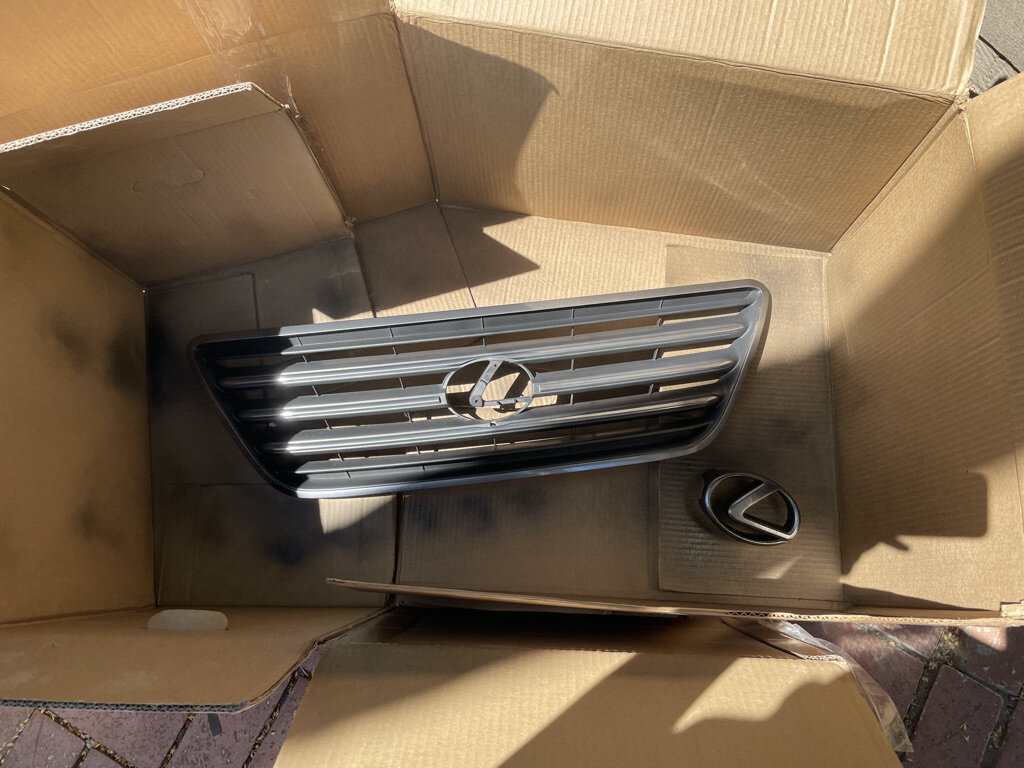
Once you’ve removed the grill, the next step is to clean it well. We used some rubbing alcohol to ensure that there are no oily spots on the grill to which the plasti-dip won’t adhere:
We went ahead and removed the “L” emblem from the grill as well to ensure it gets evenly coated. Alternatively, if you’d like to leave the emblem chrome, this will eliminate the need to mask it. Removal is easy; unscrew the two screws on the backside of the emblem:

Once those are removed, the emblem is held in place by a small plastic tab. Depress the tab and pull on the emblem to remove:

The emblem should now lift off the grill with little argument:
Now you’re ready to start spraying. We’d highly recommend spraying outdoors in a well ventilated area, preferably with something to contain the overspray. We taped a couple of large boxes together to create a makeshift paint bay:
It will take a little experimentation to understand how the plasti-dip flows to ensure even coats. Most recommend 4-5 coats of dip with a 30-minute dry time in between. However, the environmental factors will dictate how accurate that is. We sprayed on a hot, relatively humid day (for SoCal) and found that 20 minutes between coats was sufficient. However, by the time we finished getting a thick, even coat of plasti-dip on the grill we’d probably hit it 6-8 times. Keep spraying until you’re satisfied.
We then let ours sit overnight to dry completely. It still felt ever so slightly tacky in the morning, but we went ahead and installed it anyway.
To reinstall, simply reverse the removal steps. One note: the hood catch gets bolted to the backside of the plate on the grill:

