

Part 1: Grave missteps.
After wrapping up our plasti-dipped grill, we decided to keep the trend going around the back of our GX by blacking out the rear emblems and the chrome trim above the license plate. The process here is pretty similar to what we described in our How To article on dipping the front grill. The key difference here is that you can’t really remove the emblems and trim pieces. (Ok, you can but it’s probably more trouble than it’s worth.) So we took a slightly different tact and simply masked out the back of the vehicle thoroughly. Very thoroughly.
I approached the process as though I were going to be painting a room… tape where you do not want paint. You can see that I worked hard to mask things off as closely as possible.
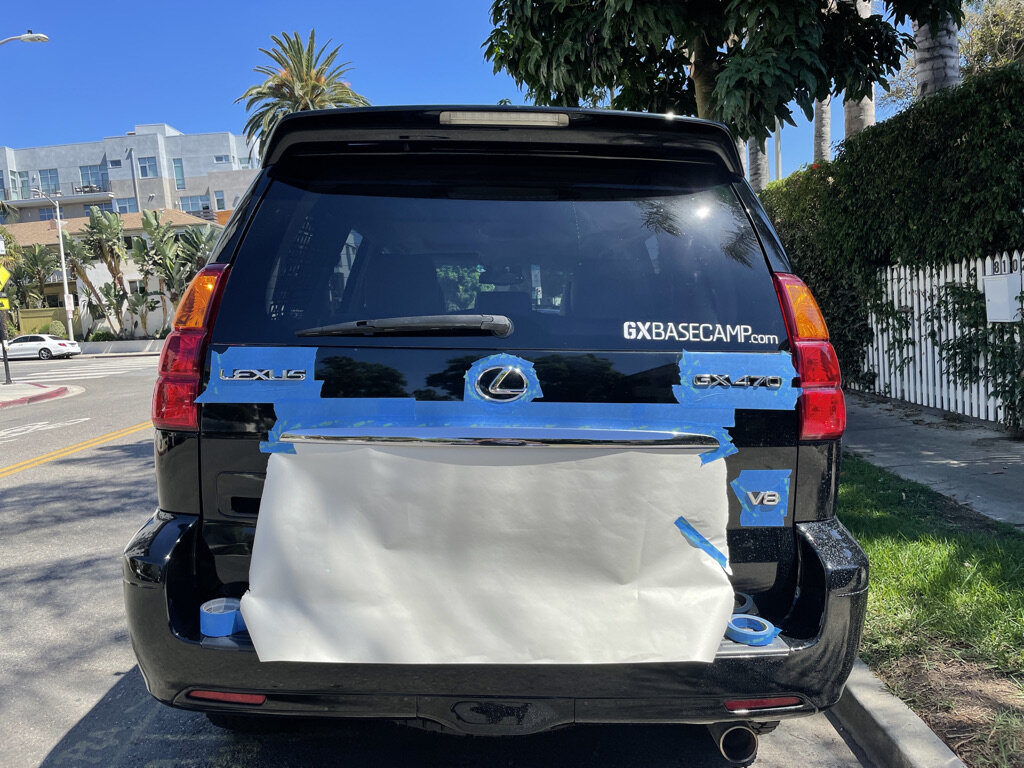
This was the final product…
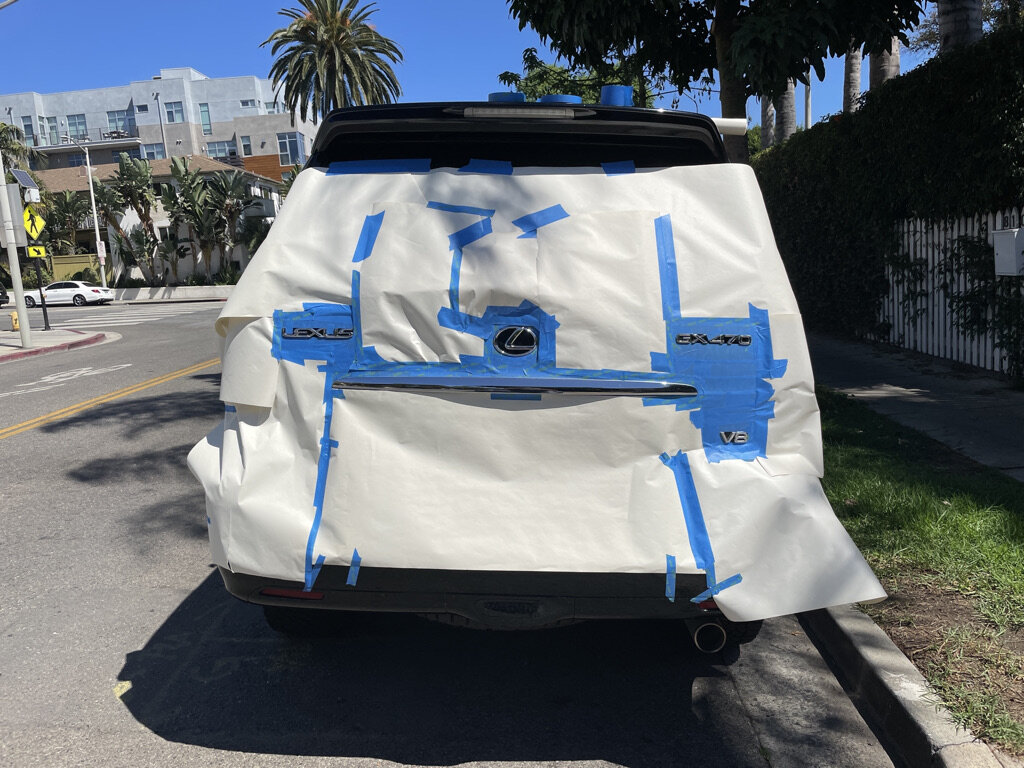
I then hit the areas with about five coats of plasti-dip, resulting in this:

And when I pulled the tape, I ended up with disastrous results. Of the five areas I blacked out, only one survived the tape pull unscathed. (Forgive the lack of photo — in my frustration, I forgot to snap one.
Part 2: Education.
After royally messing up my first attempt, I decided to read up and then consult the GXOR hivemind to figure out where I went wrong. As usual, the community came through with flying colors:
![Screenshot 2021-09-25 at 15-51-10 GXOR - GX OffRoad # Ok, what did I do wrong when I plasti-dipped the rear chrome pieces F[...].png](https://images.squarespace-cdn.com/content/v1/60930dc5acd9412dcd02ebd1/1632610340369-1BMS8ZMLUIYEGM4W4V9U/Screenshot+2021-09-25+at+15-51-10+GXOR+-+GX+OffRoad+%23+Ok%2C+what+did+I+do+wrong+when+I+plasti-dipped+the+rear+chrome+pieces+F%5B...%5D.png)
Part 3: Redemption.
So after reading through the entire thread above (which I highly recommend you do as well), I learned a few things. The most important for my next attempt:
-
Leave a bigger space around the emblems. Mask loosely, not tightly.
-
Run something around the edge of each badge/piece before you go to pull the tape.
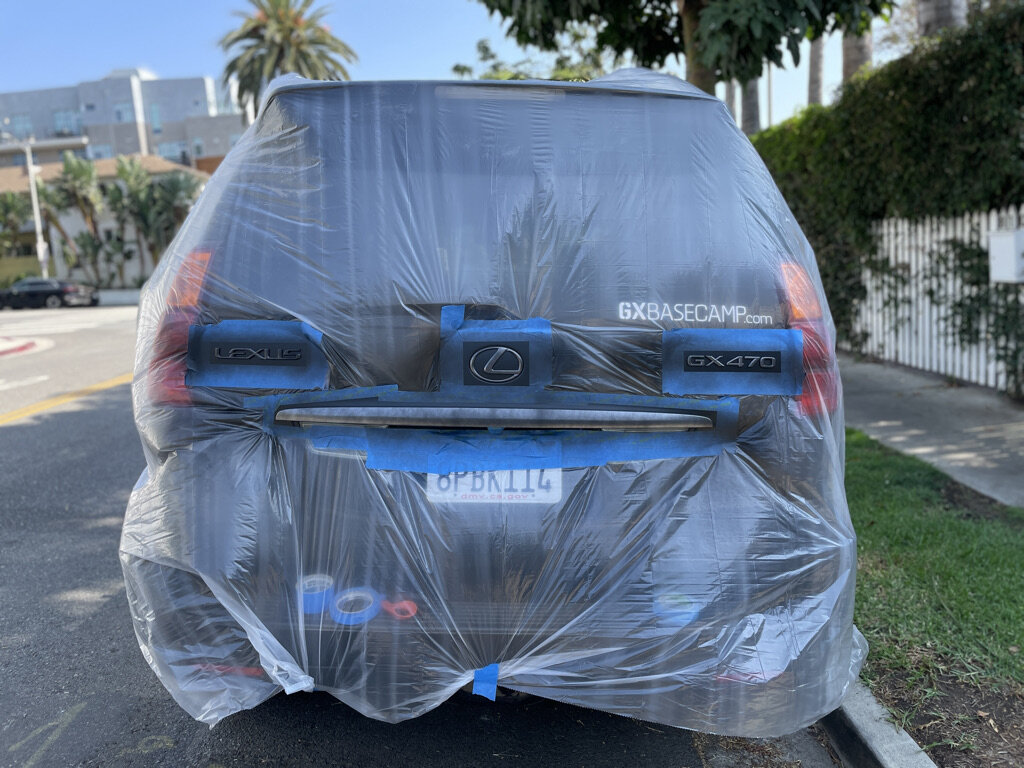
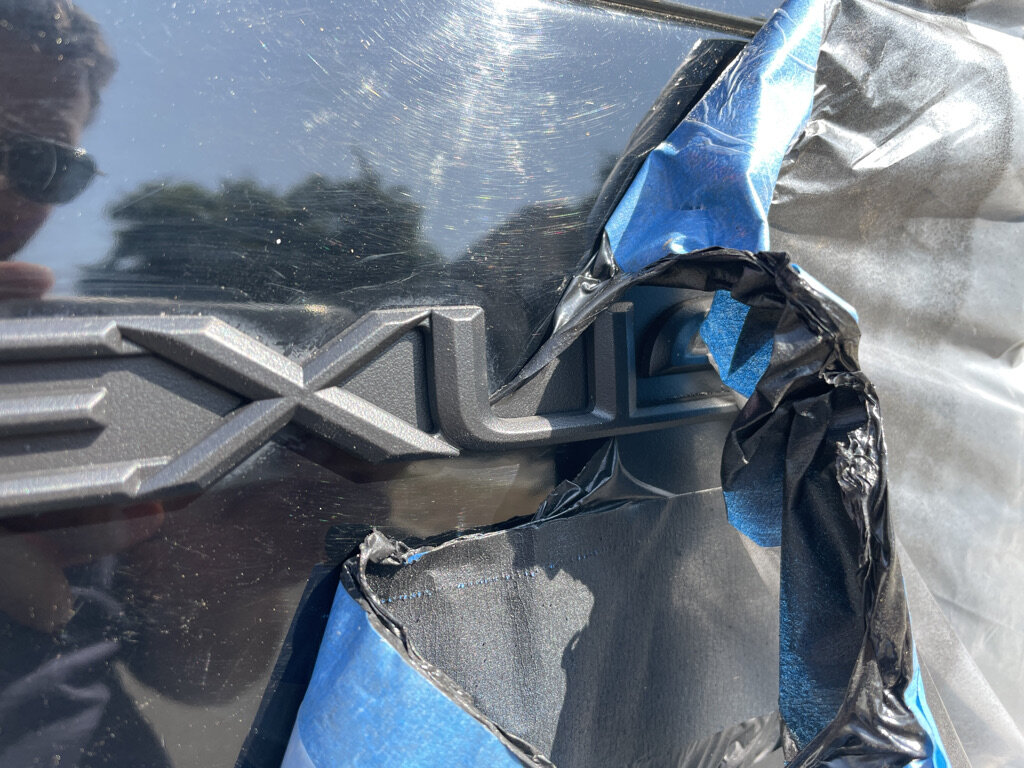
For my redemption attempt, I purchased a plastic drop sheet from Lowes (paint dept.) instead of masking with paper. SO. MUCH. EASIER. I cut one sheet in half and then taped it to the truck. I then simply cut out around each emblem and taped the edge to create a “window.” This is the way.
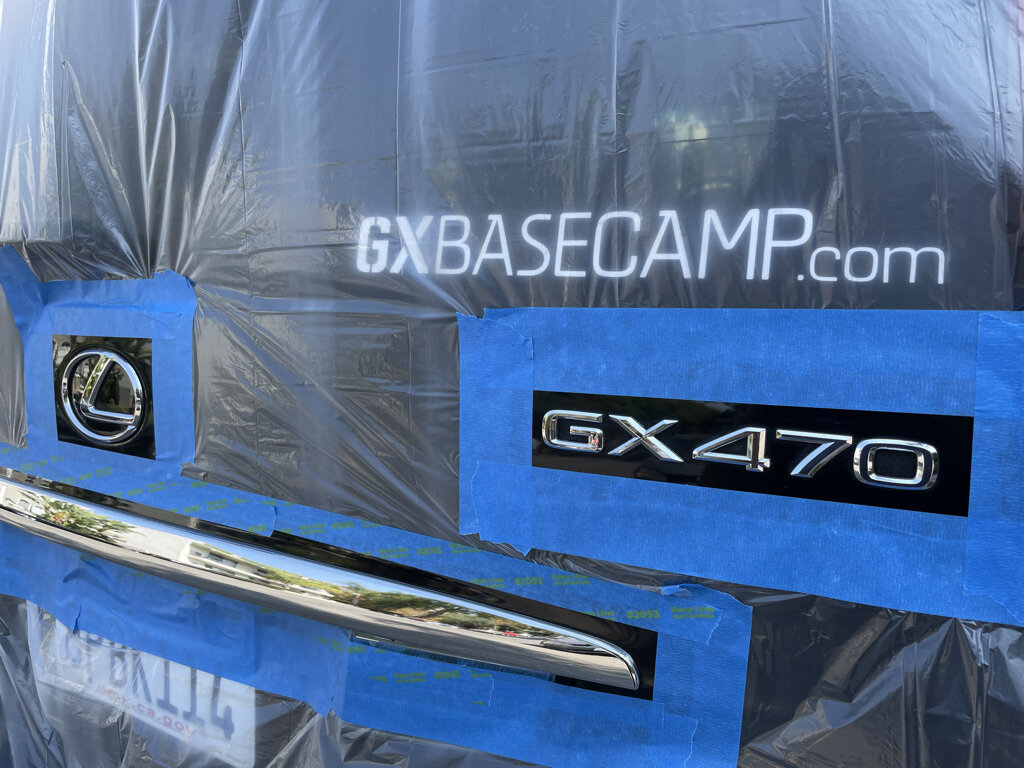
Next, as recommended via the hivemind, I started by spraying light coats to get a tacky dusting of plasti-dip in place. You can see there’s still plenty of chrome showing through after the first coat…
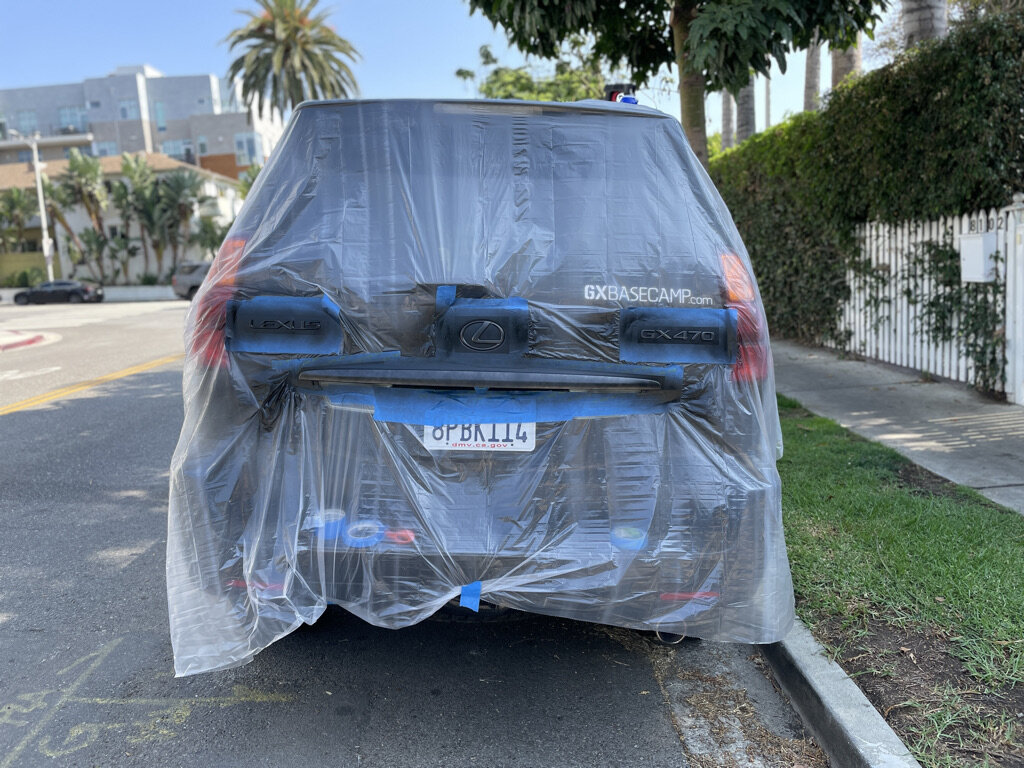
And the second coat…
And the third coat…
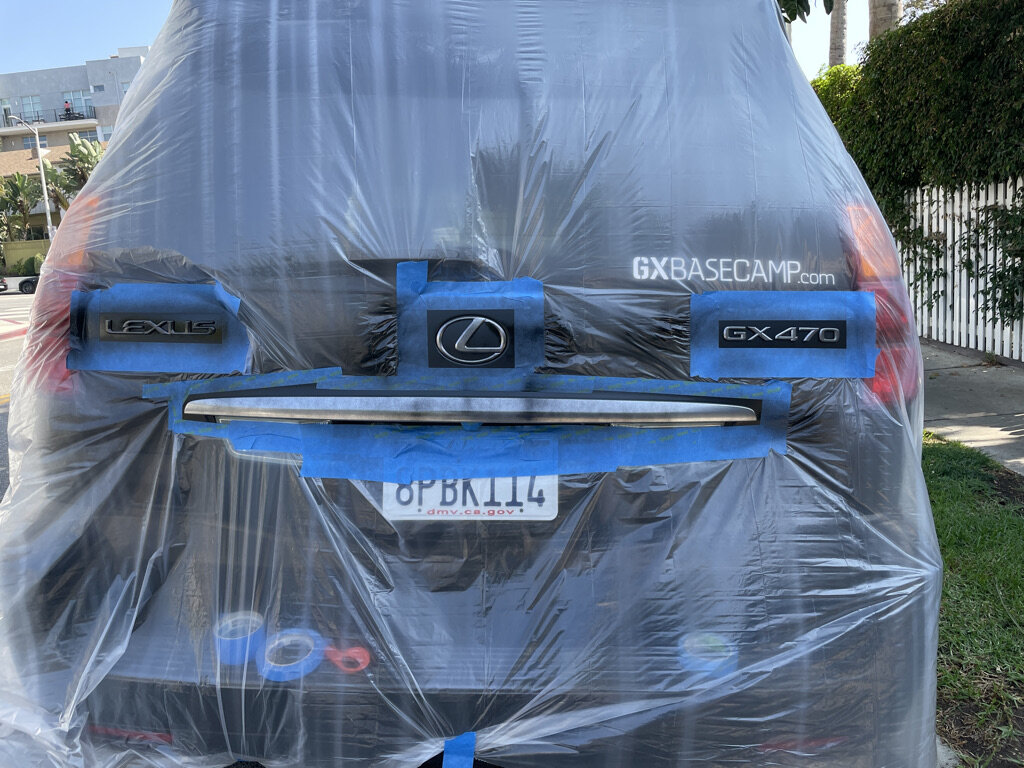
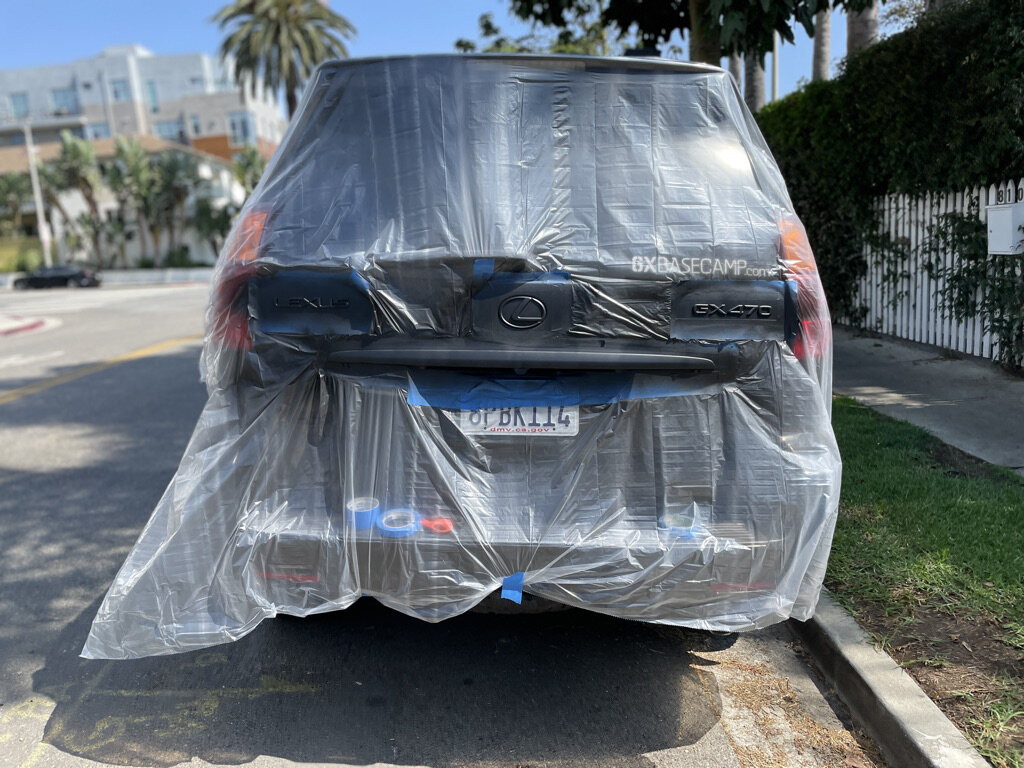
From this point, I started spraying increasingly thicker coats for a total of about eight (I lost count). The final spray before I pulled the tape looked like this…
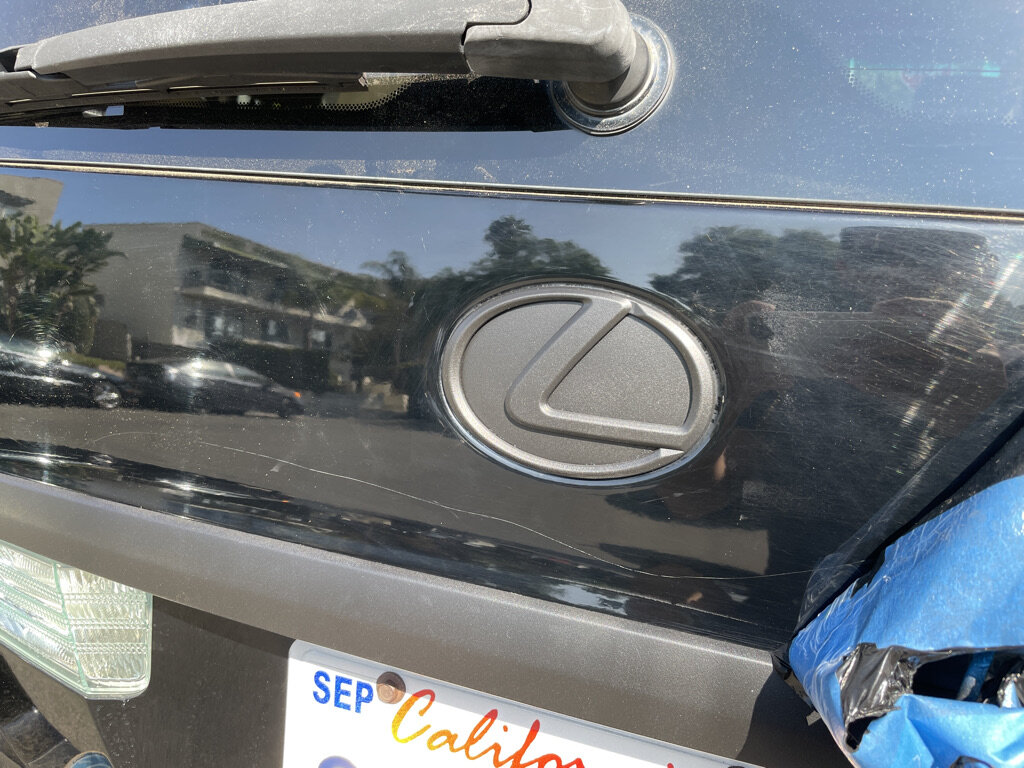
Once I was satisfied with the coating, it was time to remove the masking — the moment of truth! Before I simply grabbed and yanked everything off, however, I used the end of a zip tie to run around the edges of each emblem/trim piece to help create some separation between the plasti-dip on the emblem and that on the body. Others recommend pulling while the last coat is still wet, but I got distracted and by the time I came back it was dry.
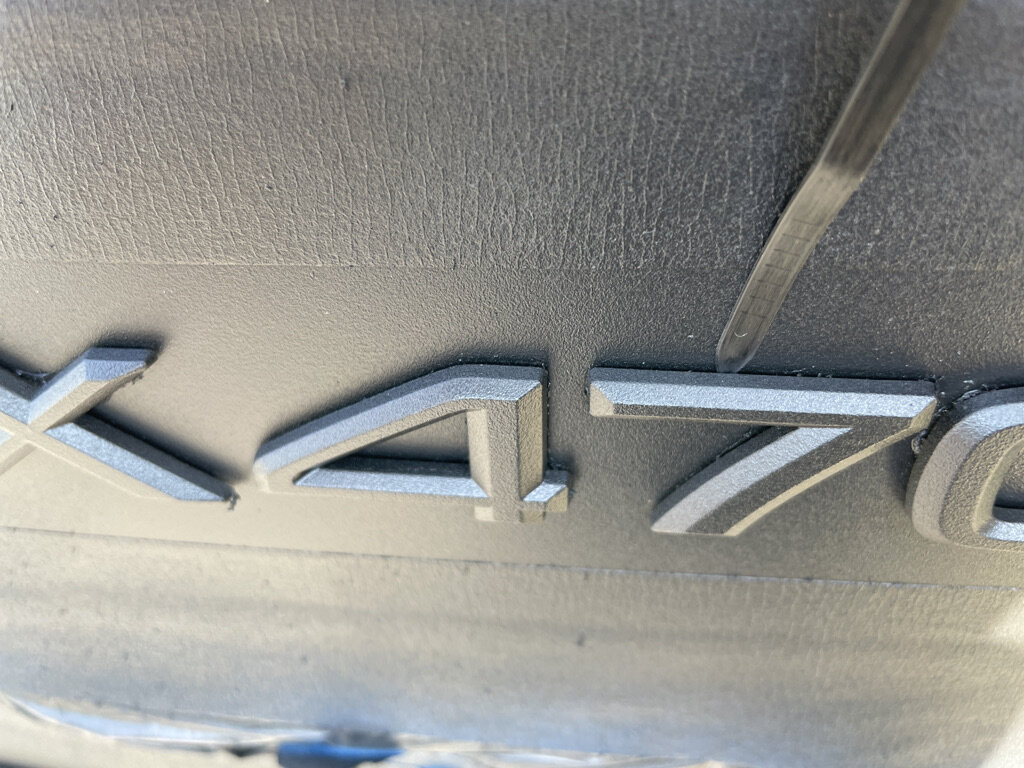
By pulling the tape slowly and carefully, stopping to create separation when necessary, the excess plasti-dip should come up with a clean line.
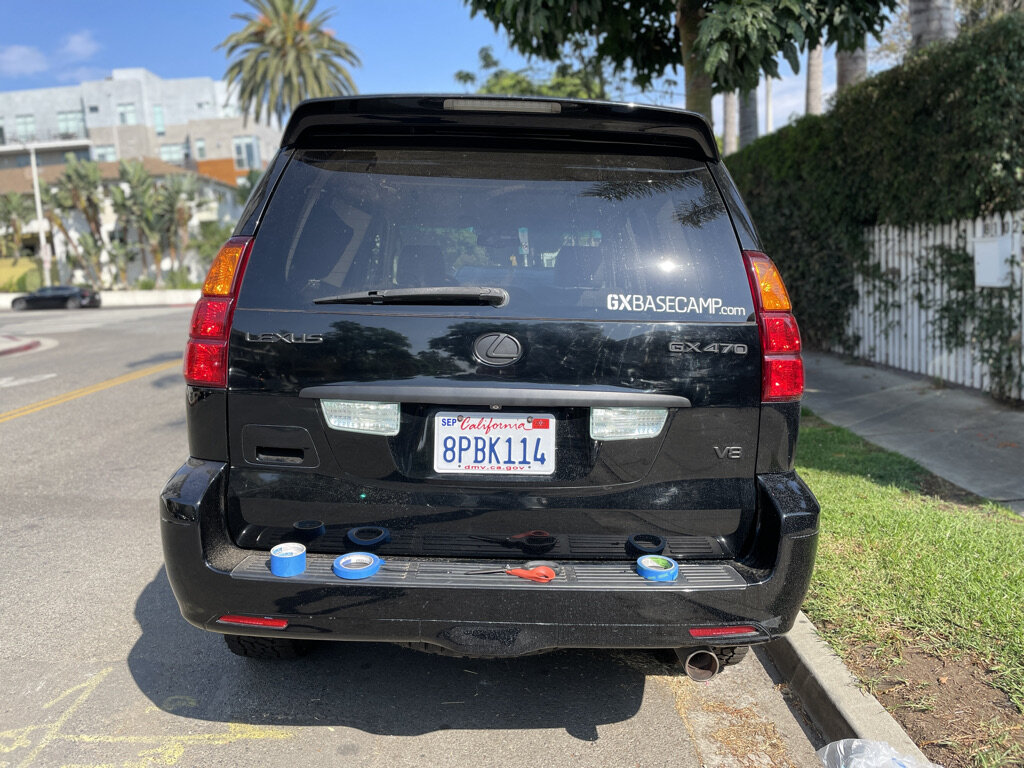
With patience, and a little help from some random people on the internet, you too can learn how to black out your badges with plasti-dip!
Get your GX470 adventure-ready today with our full line of accessories: