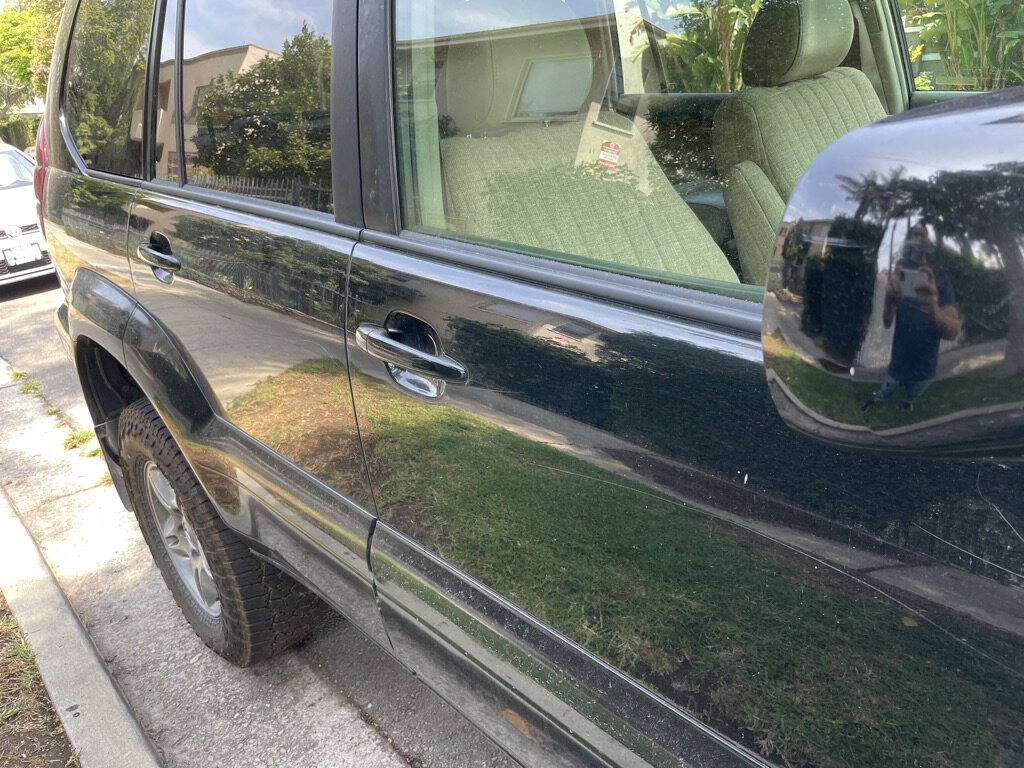
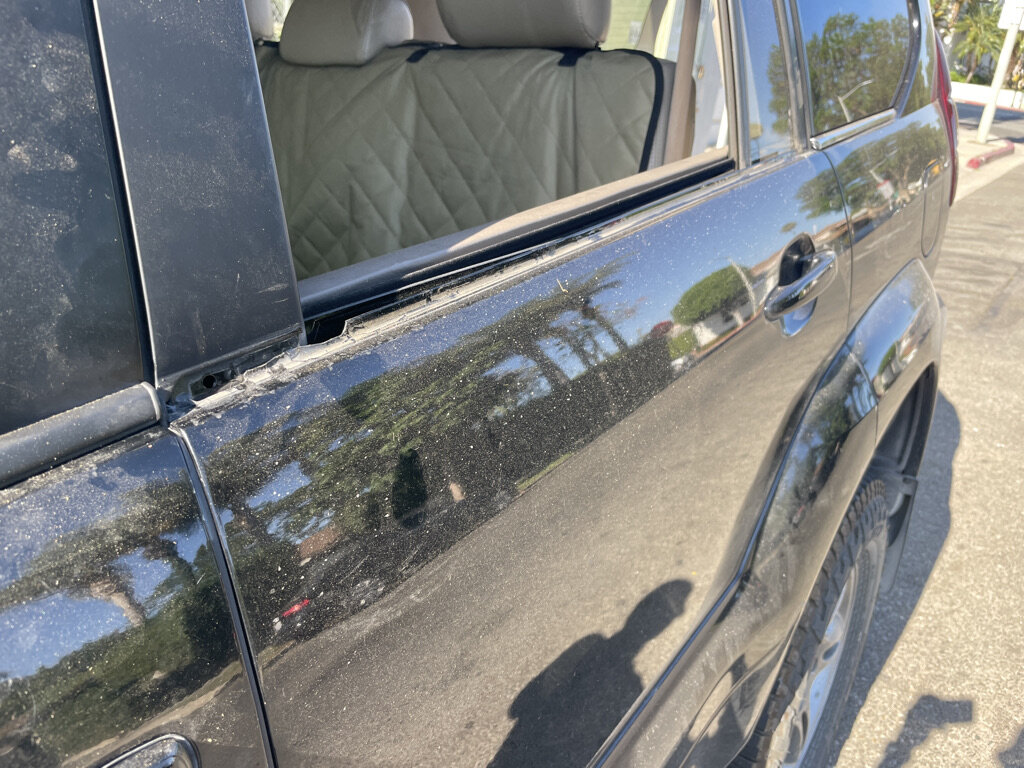
Is your trim limp? Does it hang low? Does it dangle to and fro?

Ours did. Luckily, it’s an easy fix — and in our case, a fix available in black. Swapping the four main window seals is an easy 20-minute driveway job. (The two rear quarter windows are more involved and require removal of some interior trim to access the mounting bolts.) You can find kits for the front and passenger windows on Amazon. Some have better reviews than others — your mileage may vary.
If you’re looking for OEM parts and/or you want to replace all six trim pieces, then your best bet is to order from PartSouq. Here are the part numbers you’ll need:

Don’t be like me and accidentally order 5 of the 6. You’ll just have the joy of waiting for, and paying for, an additional delivery.
The front four windows…
These are the easy ones. Open the door you’re replacing the trim on and locate the small, black torx bolt. These are located near the B pillars (so near the back on the front-most doors, and toward the front of the 2nd row doors). First, remove those bolts.
Front Door

2nd Row Door
Next, grab some trim removal tools. Beginning at the end closest to the B pillar (or closest to the bolts you just removed), insert the trim tool into the seam just below the chrome trim.
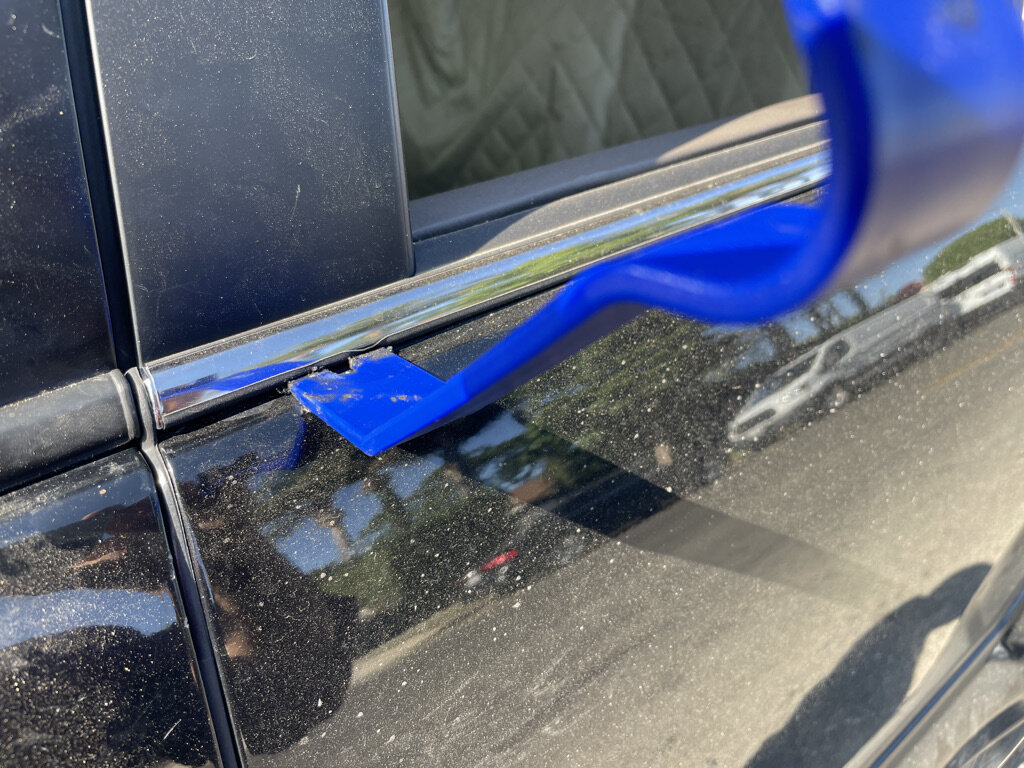
Carefully pry upward until the chrome trim separates from the door panel. If yours are anything like ours, the black rubberized trim will come off as you go, making a mess of your hands and your trim removal tool. Have fun.
Work you way down the trim piece prying upward until the entire piece works loose.
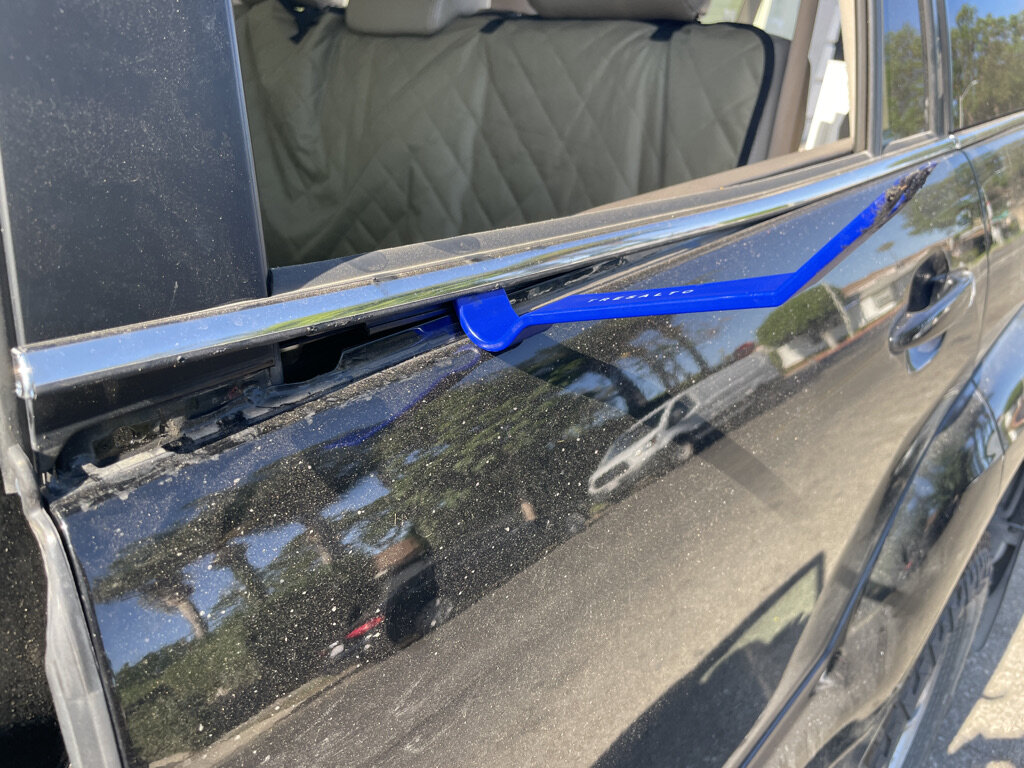
On the 2nd row doors, the trim will lift cleanly off the vehicle. On the front doors, you’ll need to work the length of the trim loose, then pull toward the rear of the vehicle. The front-most end of the trim is inserted into a small nook at the furthest forward point on the window.
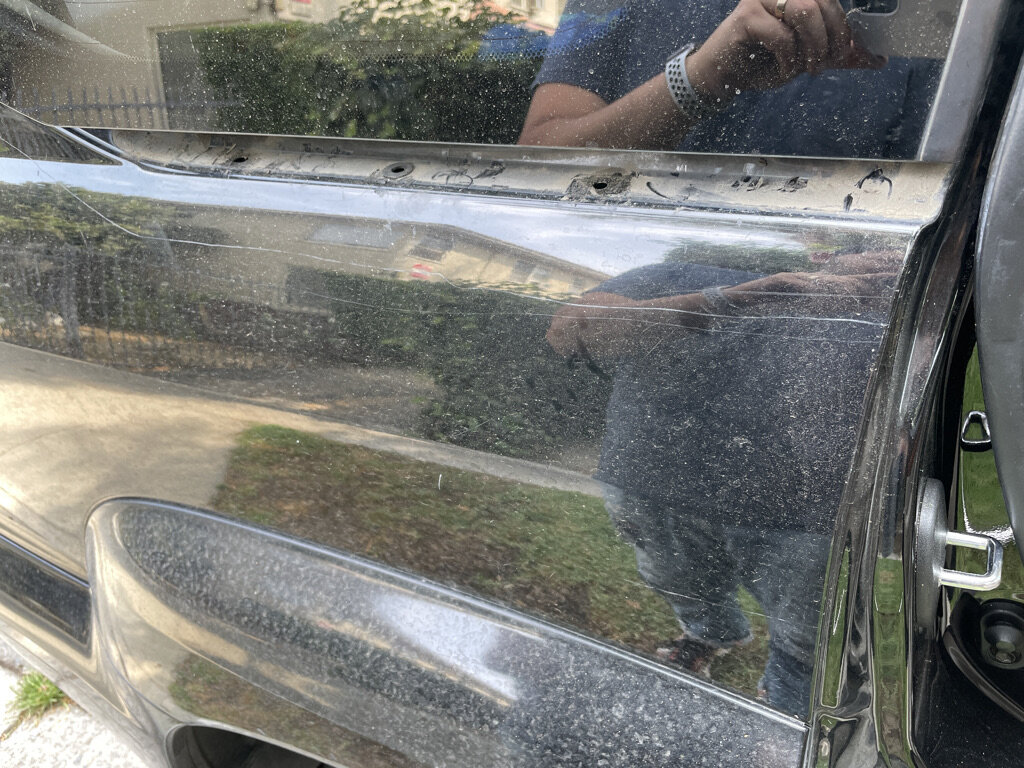
Once the trim is removed, like this…
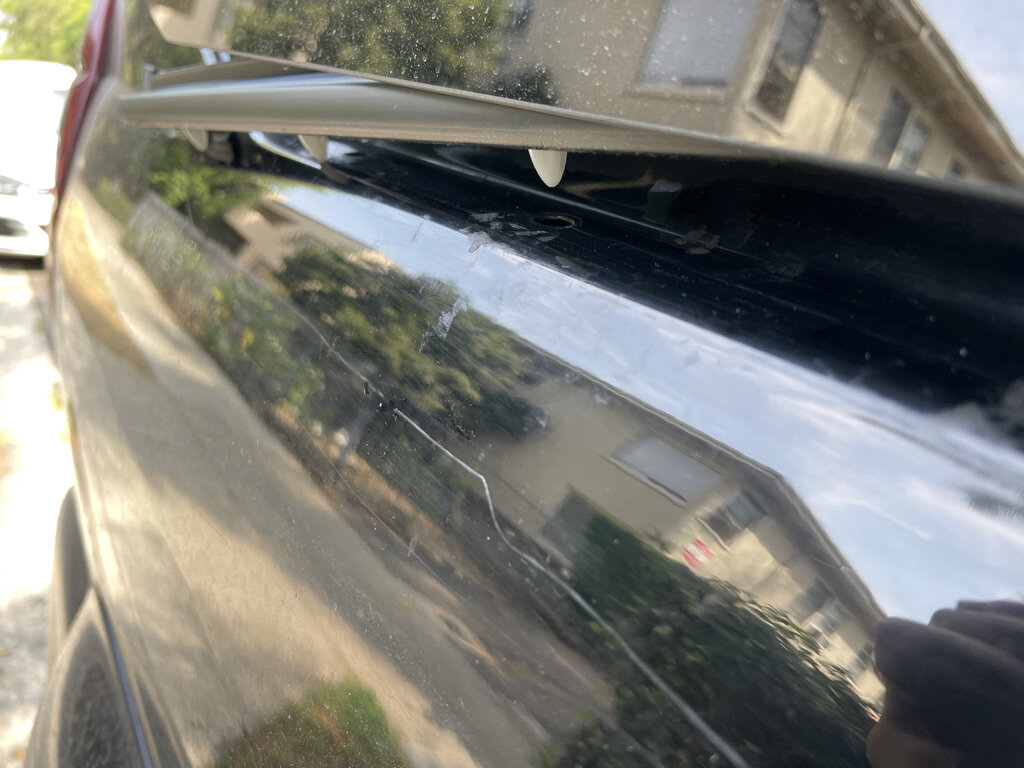
You’re ready to install your new trim pieces. Ensure that you’re putting the right trim in the right place. Align the new trim piece on the door, then use the very scientific installation method of banging it firmly in place. On the front-most trim, be sure to start by inserting the forward end into the nook at the front of the window before you bang firmly. If your trim is sticking up like this, you haven’t been firm enough…

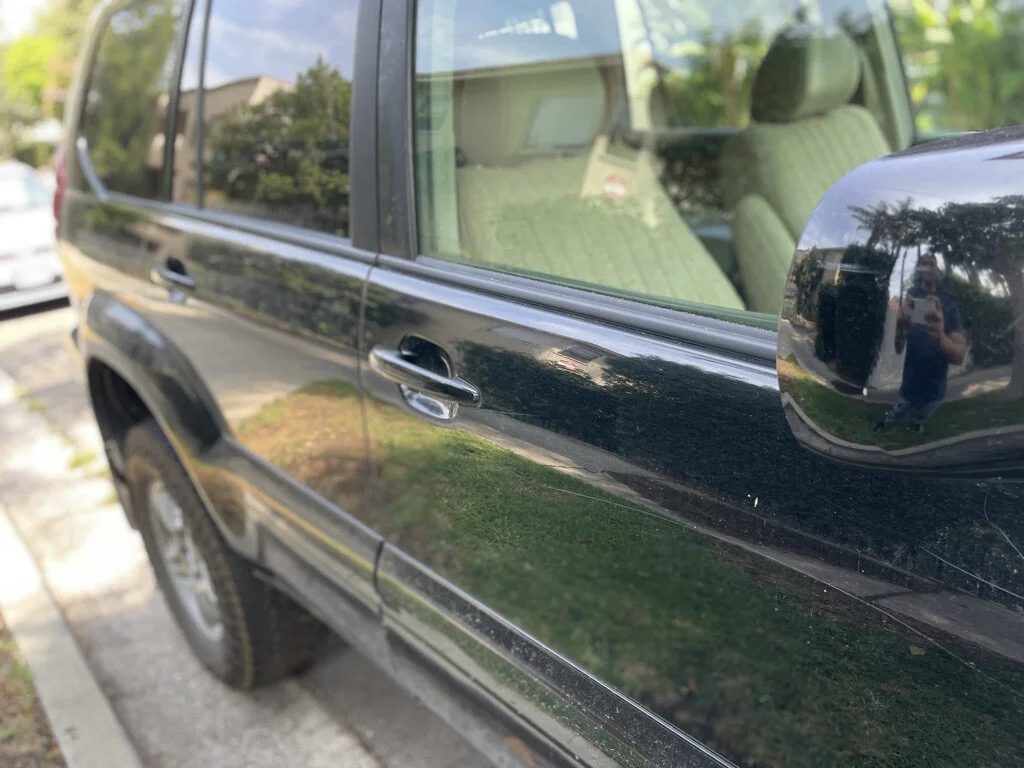
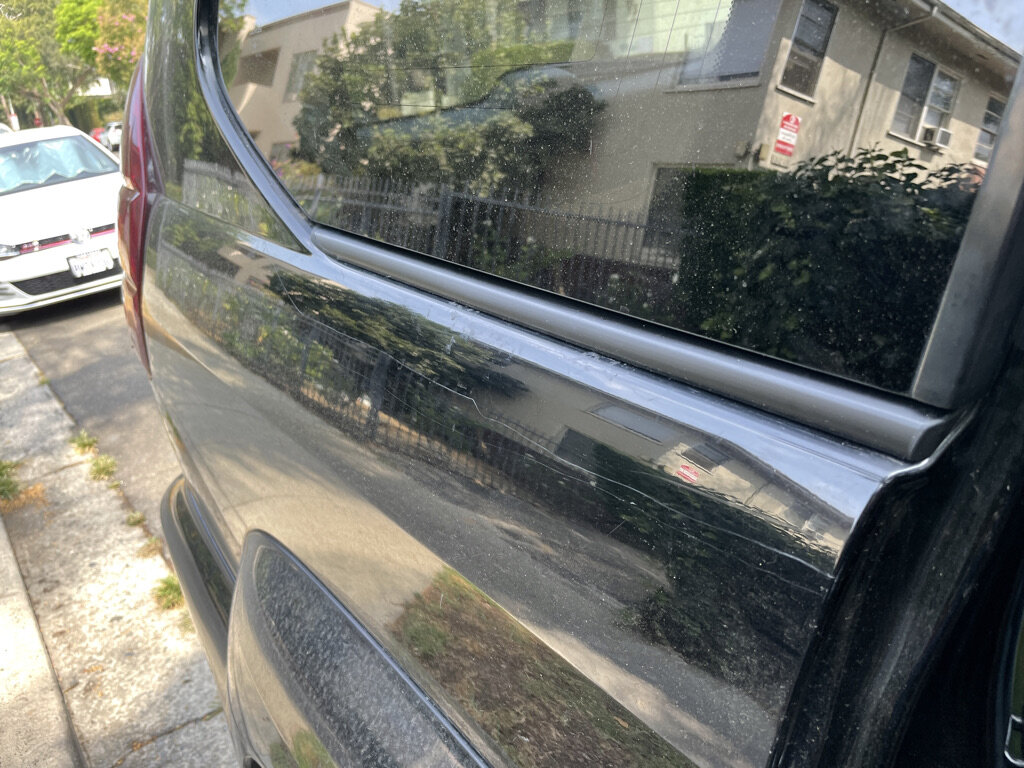
Lastly, reinstall the torx head screws that you originally removed from each door. You may want to have a clay bar on hand to remove the black gunk from your door panel before installing the new trim. Once installed, your trim should look like this.
The Rear Quarter Windows
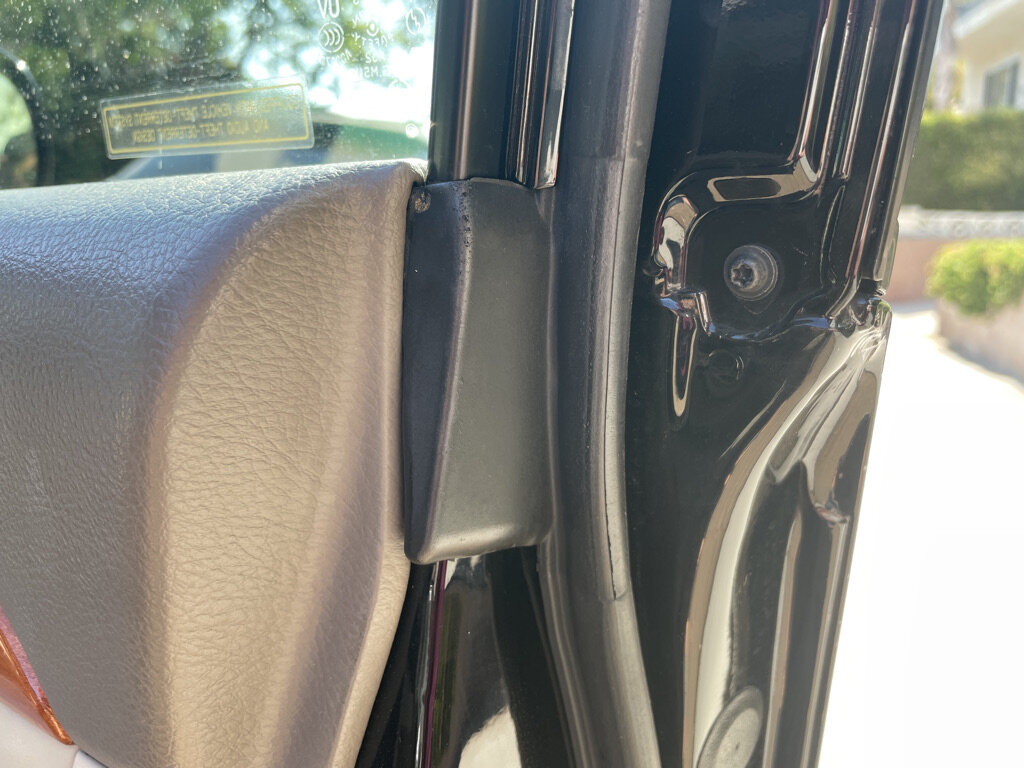
The rear pair of windows are slightly more complicated. In order to do those, open the 2nd row doors and flip your 2nd row seats all the way forward. Next, carefully pull the gasket around the door trim outward.
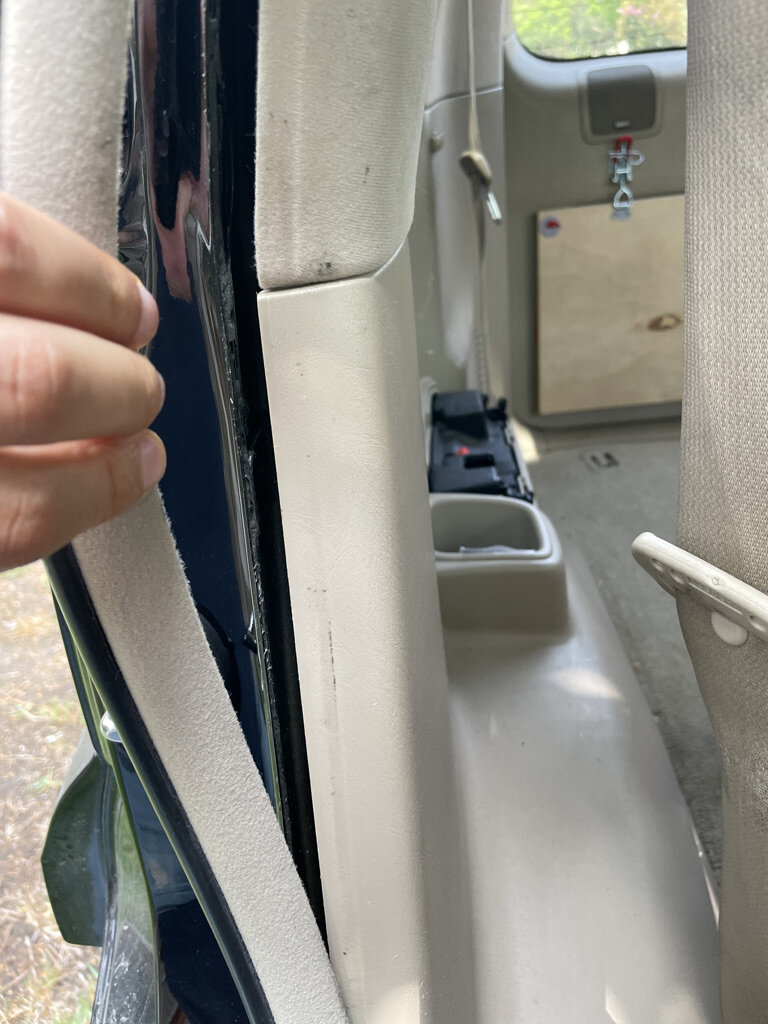
Next, peek through the crack between the trim and the sheet metal until you find the plastic connector roughly aligned with the transition line between fuzzy and plastic on the interior. Using a trim tool, pop that connector loose. Look inside the trim and you’ll find two holes in the sheet metal pillar.
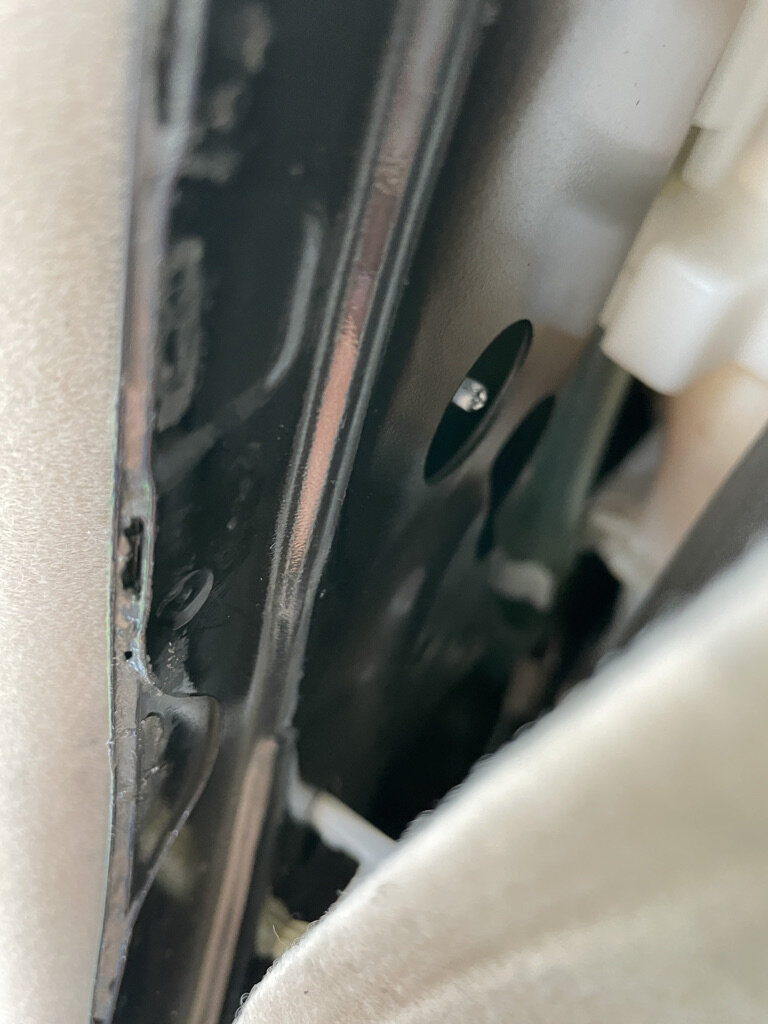
Pry back the interior trim until you can get a socket with a 10mm deep socket into the forwardmost hole. (If you don’t have a 10mm deep socket, get one before you start. It is a necessity for this part.)

Using the 10mm socket, loosen the nut that’s inside the hole. Once it’s loose, do not remove the socket. If you drop the nut, you will not be able to retrieve it! Instead, simply leave the socket wedged between the interior trim and the sheet metal to hold the nut in place.
Removing the trim piece is now similar to the forward windows. Slip a trim tool between the trim and the body and pry upward. There are 3 plastic clips holding the trim piece in place which will likely break during removal. (This is fine; your new trim should have the clips already installed.) Once you’ve removed the trim, you should be left with this.
To install the new trim, slide it into position from the back of the window toward the front until the clips align to the holes. Once aligned, push down until the clips lock in place.
Now that the trim is in place, reverse the process you went through to remove it. Begin by tightening down the nut that your socket is holding in place. This will tighten a bolt through the loop on the leading edge of your new trim piece. You should see the front edge of the window tighten into place. Then reinstall your trim and your door gasket and repeat the process for the other side.
Once you’re done, enjoy your fresh new trim!